I’m going to say right now that I am no expert when it comes to making homemade soap. In fact, what you will see in this post is how to make soap for beginners. This is because I am also very much a beginner! The benefit from learning from a soap making newbie like me is that I can help you to not make the same mistakes that I did.
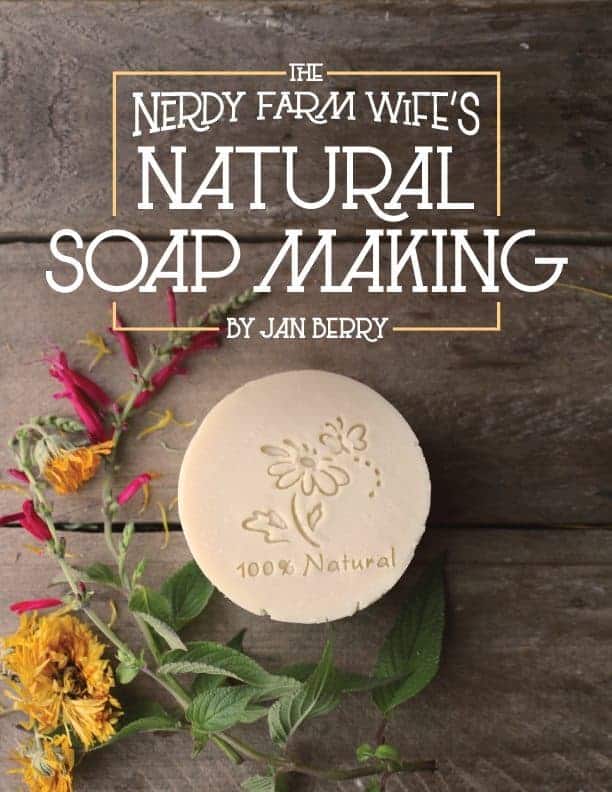
Luckily for me, everything went relatively well and I didn’t mess anything up too much. The biggest reason for this is because I had Jan Berry’s Natural Soap Making eBook to guide me. The best part of it all is that I realized how easy it actually is to make your own homemade, natural soap. Now I’m hooked! Learning how to make soap isn’t nearly as hard as I thought it would be.
Want to save this post for later?
How to Make Soap
I’m going to start off by saying that I’ve always wanted to learn how to make soap, but have honestly been scared. The whole lye thing and the potential for chemical burns really turned me off. I researched making homemade soap without it, but it just didn’t seem the same.
So, I just tried to keep happy with store bought soap. But, as you may already know, I’m a DIY kind of girl, especially when it comes to homemade bath, beauty, and herbal products.
So, the fact that I had never made soap was kinda eating me up inside. It was one of those things that I knew was going to happen one day, but when?
Then I discovered Jan Berry’s blog, The Nerdy Farm Wife. She made homemade soap making look so easy and fun, plus most of her soap recipes contained herbs and other natural products, which I love. So, I got a copy of her Natural Soap Making eBook and was so glad that I did!
The book is easy to read and understand, and made me realize that *I* actually could learn how to make soap safely. I read it and re-read it until I felt comfortable about the process, and about using lye.
It turns out that lye (derived from wood ash) has been used to make soap for centuries, and what we use now is just a standardized version to make recipes more reliable. There isn’t even any lye left in the soap if you do everything right. The book explains it all, complete with diagrams to help you understand the chemical reaction that happens.
Jan goes step by step into the soap making process, from what equipment you need to troubleshooting when your soap doesn’t come out quite right.
The soap making checklist that is included in the complete package is also invaluable. You can print it out and have it right next to you to guide you at every step. So worth it!
Soap Making Equipment
The first thing you will need to do is to make sure you have all of the proper soap making equipment. To me, this ended up being the hardest part!
Any kitchen tools that are used for making soap shouldn’t be used for anything else, so try to use old or inexpensive items. The eBook goes into way more detail about all of this, but here are the absolute basics:
- small plastic container for measuring lye
- larger heatproof plastic container for mixing the lye and liquid
- digital kitchen scale
- rubber gloves for handling the lye
- pot for mixing the soap in, non-aluminum (I used an old stainless steel pot)
- thermometer
- immersion blender
- big stirring spoon and rubber spatula
- soap mold of some sort (Joel made one for me out of wood)
- parchment paper for lining the mold
Jan’s book also has a whole bunch of great natural homemade soap recipes. The recipe that I’m going to use today is one of the simpler ones, Calendula Soap.
I love calendula and use it in many of my own homemade natural beauty products, like my herbal salve and calendula cream. It is a great herb for the skin, one of the best you can use!
Jan suggests substituting sweet almond oil for the sunflower oil, so that’s what I did. I used lye from Essential Depot. You will also need dried calendula flowers for this recipe, to make the calendula tea.
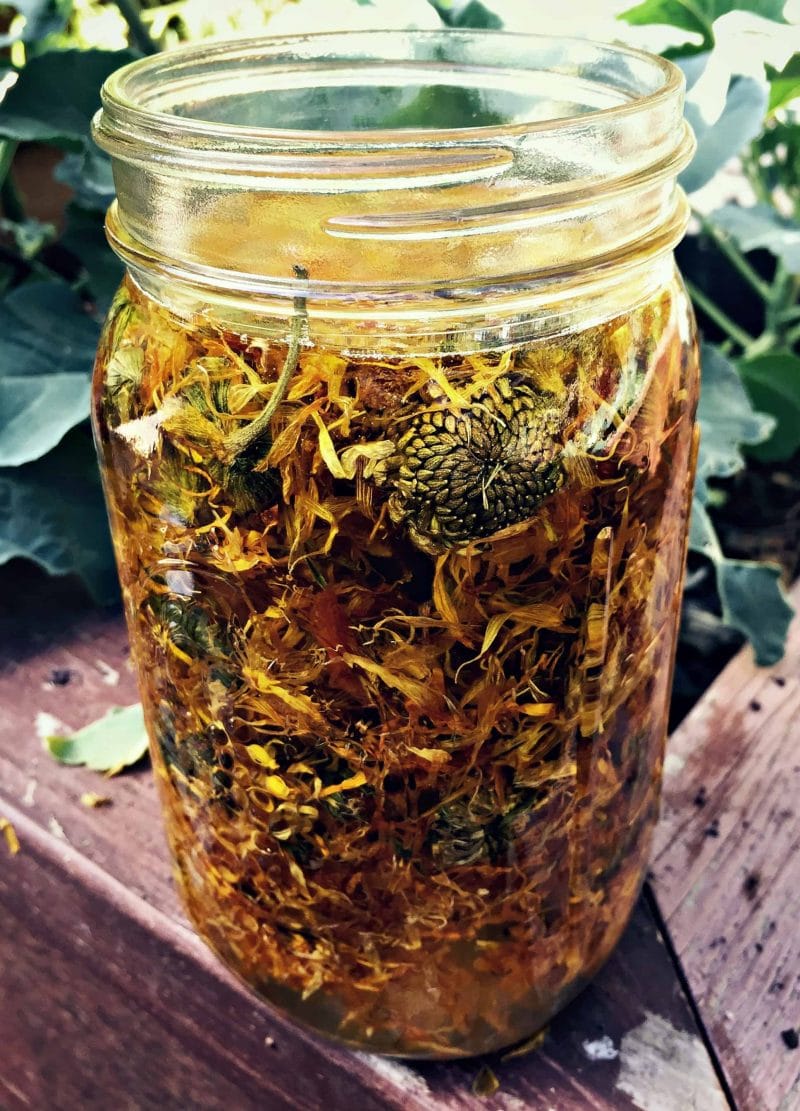
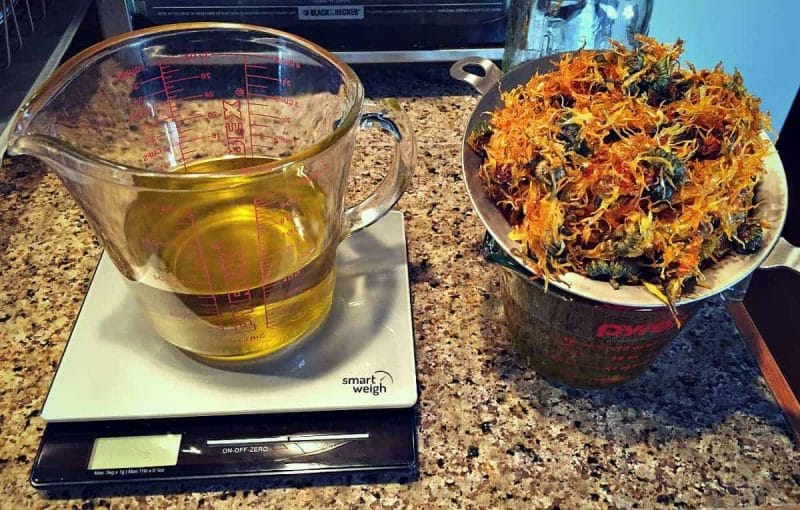
When you make natural homemade soap like this you can always use infused herbal oils instead of using plain oils. So, I of course started by making a calendula infused olive oil for this recipe. Isn’t it pretty?
If you want to learn more about making soap with herbs, here is a great guide to using herbs and flowers in soap recipes from Lovely Greens!
Once you have all of your equipment, ingredients, and infused oils (if using), it’s time to make soap! I’m going to briefly go over all the steps here, but as I said before, I’m no expert.
I truly recommend getting the Natural Soap Making eBook to guide you! Also, I couldn’t get all of the pictures that I wanted here, because it’s difficult with gloves on and working with a caustic chemical. Sorry!
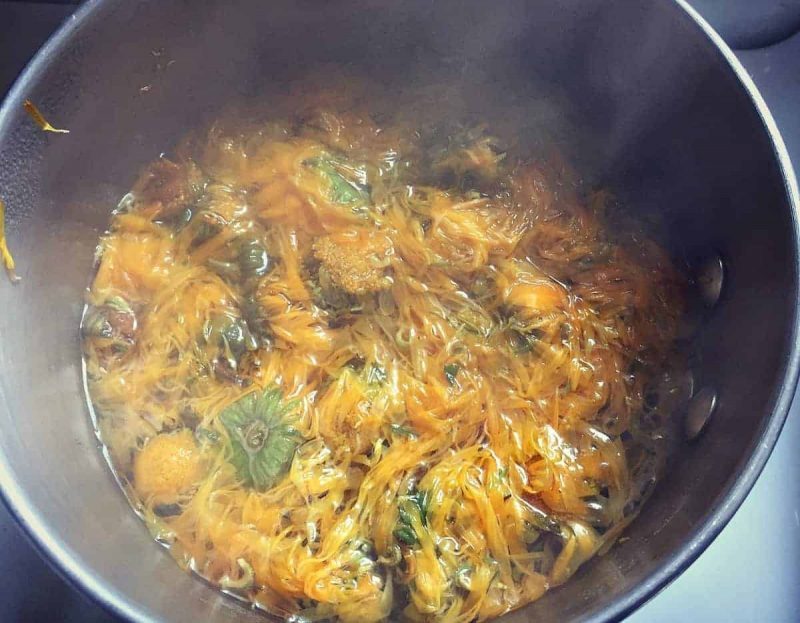
The first step is the make the calendula tea. This is pretty straightforward, just steep dried calendula flowers in boiling water, then strain.
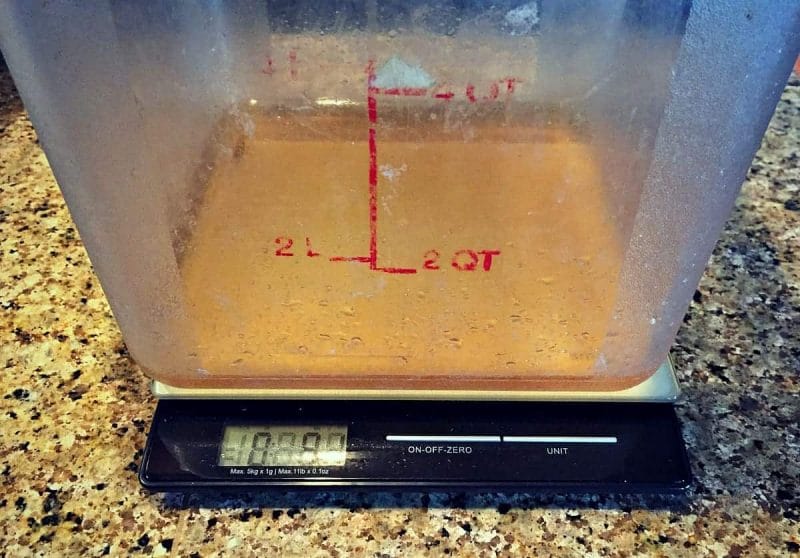
Then cool the tea completely so that it is at room temperature. This is very important, so don’t be in too much of a hurry! Then weigh out the tea into the heatproof plastic container.
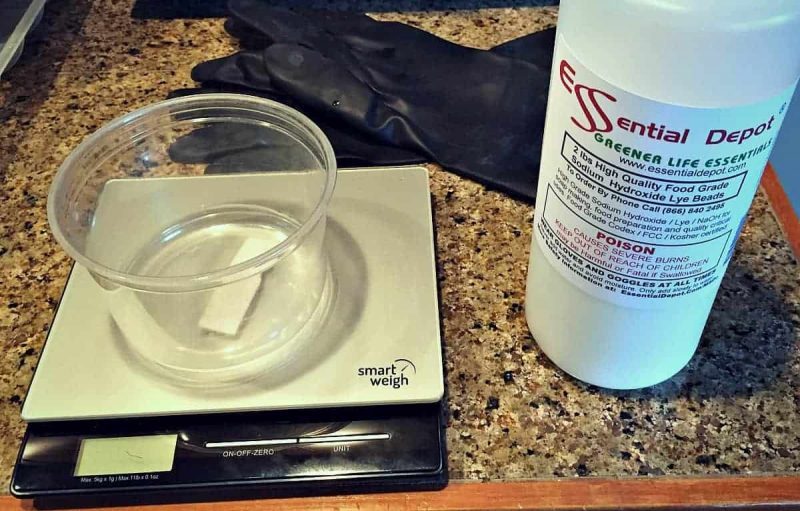
Put that in the sink (or outside, if that’s where you’ll be soaping), then carefully weigh out the lye, making sure you are taking all the necessary precautions with gloves, long sleeves and goggles if needed.
You absolutely do not want to come in contact with the lye at all. Make sure there are no children or pets in the area.
Next you pour the lye into the liquid (in this case, the calendula tea). You always want to pour lye into liquid to avoid a volcano! It will become very hot very fast, so be careful.
Stir well, but don’t breathe in the fumes. Make sure there are open windows and fans blowing if needed, if you are indoors. Once the lye is completely dissolved in the liquid, leave it be and weigh out the oils.
Pour the oils into the big pot and gently warm them to about 100°F or so. When both the liquid and lye mixture and the oils are around 100°F (+/- 20°F is ok), slowly drizzle the lye mixture into the oils.
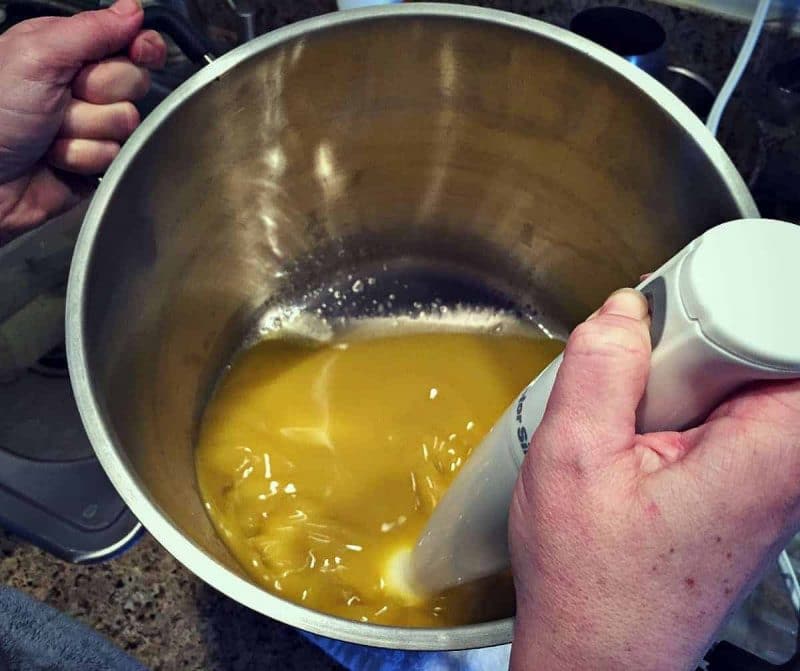
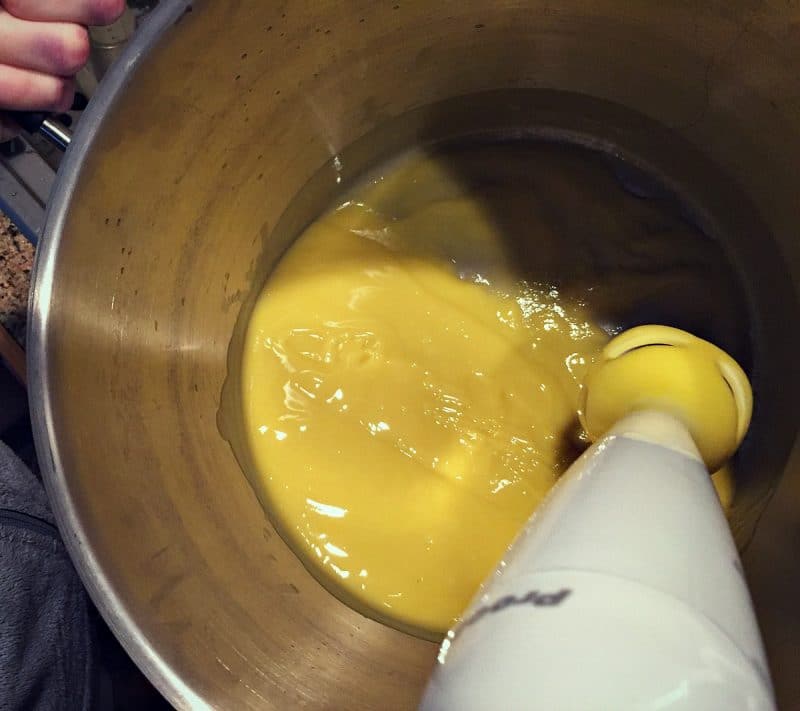
Rinse the lye container with cold water and set aside. Then use the immersion blender to mix the soap batter, alternating 30 seconds on and 30 seconds off. You may have to tilt the pot a bit in order for the blender to be completely submerged.
After a couple of minutes you will notice that the mixture will start to thicken. What you are looking for is called “trace”. This is when it is thick enough that the soap leaves a pattern on the surface before sinking back in.
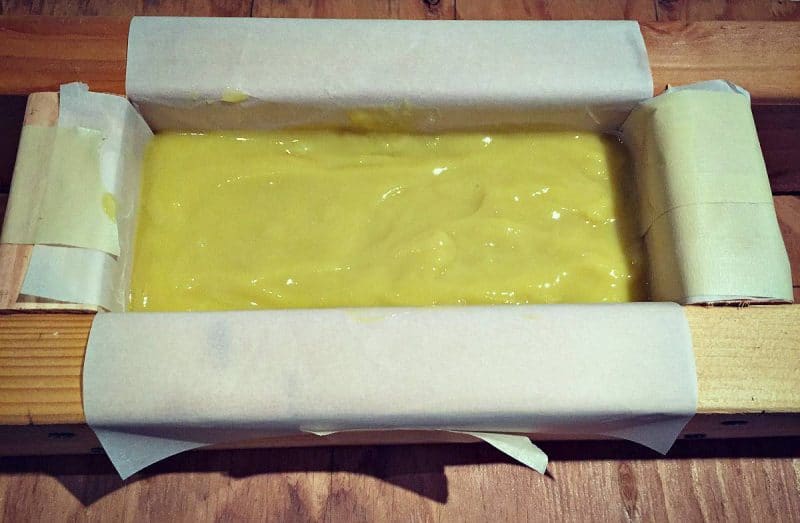
When you get to this point, it’s time to pour it into your parchment lined mold. If you get the Natural Soap Making complete package there is a diagram on how to line your soap mold with parchment paper, which actually turned out to be quite handy for us at the last minute!
Cover with something (I used a piece of cardboard) and wrap a few towels and blankets around it to keep it warm. Check on it every hour or so for the first few hours to make sure it isn’t cracking. If it is, take the towels and blankets off to let it cool quicker.
Put all of your soap making equipment aside in a safe place to wash the following day (isn’t that great?). It won’t be as harsh after it sits for a while, so it’s better to wait.
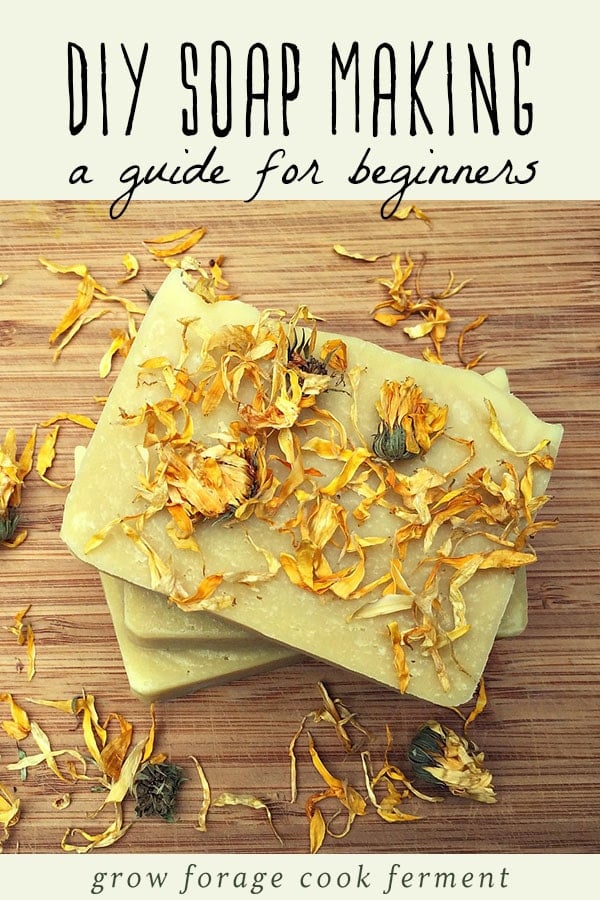
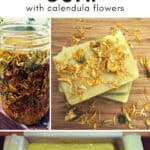
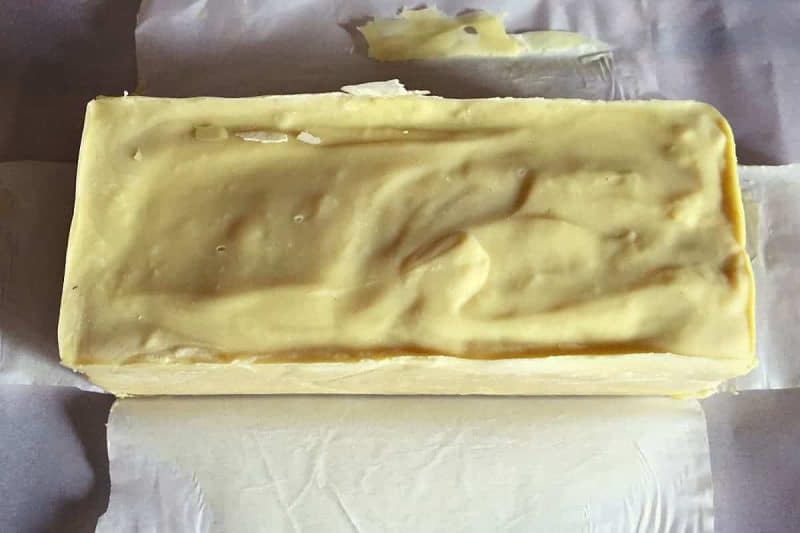
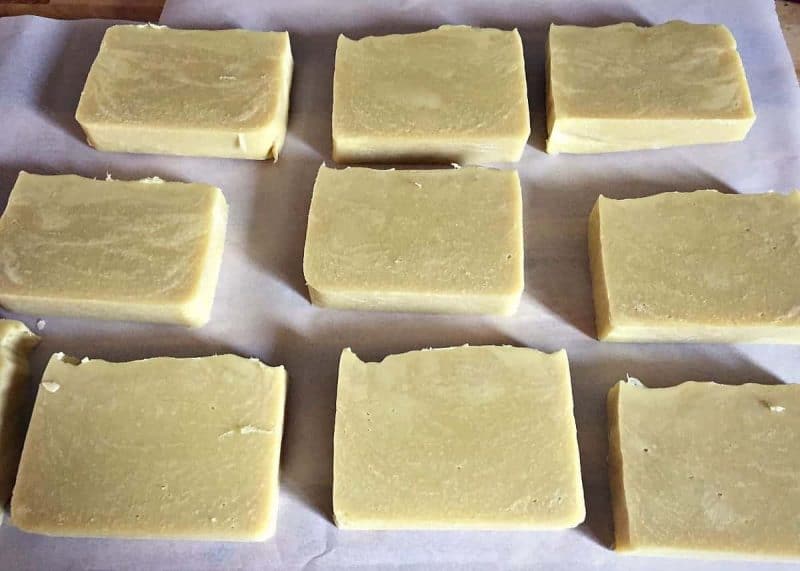
Let the soap sit in the mold for 24-48 hours. Here is what mine looked like when I took it out.
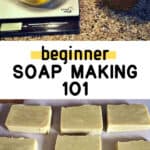
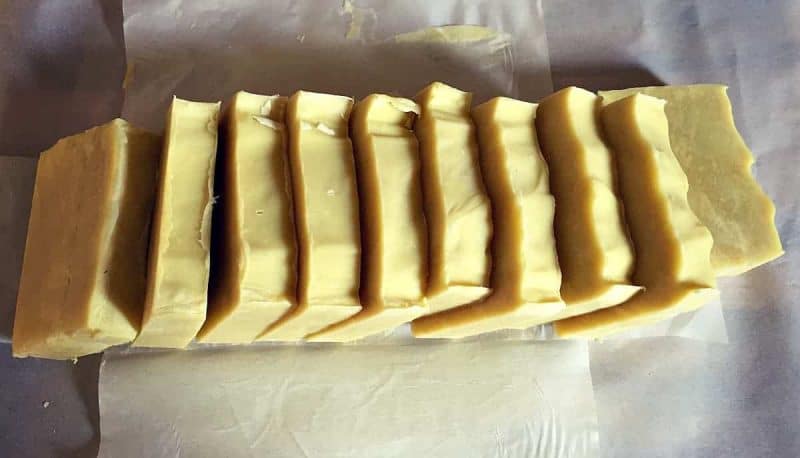
Pretty cool, huh? I was rather proud of myself at this moment. Cut the soap into desired shapes and sizes. I got 10 large bars from this recipe.
Now comes the hardest part, and the part I never realized about homemade soap making. You have to wait to use it for 3-4 weeks so that it can cure!
It will mellow with time, become harder and more gentle, so you gotta wait. I know, it’s tough! Lie them out on a parchment lined rack and flip every so often.
This soap turned out absolutely wonderful, and is a new favorite in our household. I don’t think I’m ever going to buy commercial soap again!
I hope this post helps you on your soap making journey. It was really quite surprising how easy it was to make, once I had all of the necessary equipment and ingredients. I can’t wait to try more homemade soap recipes!
If you’re interested in how to make soap, I can’t recommend Jan Berry’s Natural Soap Making eBook enough. If you get the complete package you also get the soap making checklist and guide to lining a soap mold, both of which helped me tremendously.
You also get two other eBooks, All Natural Milk Soaps and Natural Shampoo Bars. I’ve made her Rosemary Mint Shampoo Bars recipe and they are amazing!
More Natural Soap Recipes
Here are some more soap recipes for you to make now that you know the basics:
Happy soap making! Please let me know about your beginning homemade soap adventures!
Calendula Soap Recipe
Equipment
- Heat Proof Plastic Container
- Blankets
Ingredients
Liquid and Lye Portion
- 4.17 oz lye (6% superfat)
- 9 oz calendula tea
Oil Portion (30 Ounces Total)
- 15 oz olive oil (50%)
- 8 oz coconut oil (27%)
- 2.5 oz castor oil (8%)
- 4.5 oz sunflower oil (15%) or sweet almond oil
Instructions
- Make the calendula tea by steeping dried calendula flowers in boiling water, then strain. Cool the tea completely to room temperature, then weigh it out into a heatproof plastic container.
- Carefully weigh out the lye, making sure you are taking all the necessary precautions with gloves, long sleeves, and goggles if needed. You absolutely do not want to come in contact with the lye at all. Make sure there are no children or pets in the area.
- Pour the lye into the calendula tea. It will become very hot very fast, so be careful. Stir well, but don't breathe in the fumes.
- Once the lye is completely dissolved in the liquid, leave it be and weigh out the oils, then pour them into the big pot and gently warm to about 100°F.
- When both the liquid and lye mixture and the oils are around 100°F (+/- 20°F is ok), slowly drizzle the lye mixture into the oils. Rinse the lye container with cold water and set aside.
- Use the immersion blender to mix the soap batter, alternating 30 seconds on and 30 seconds off.
- After a couple of minutes you will notice that the mixture will start to thicken to "trace".
- Once trace is achieved, pour the soap into a soap mold, cover it, and wrap it with a few blankets.
- Let the soap sit in the mold for 24-48 hours before cutting.
- Cure the soap for 4 weeks before using.
Notes
- This is Jan Berry's recipe for Calendula Soap from Natural Soap Making.
- Please see more detailed instructions within the post, or in Jan's ebook which I highly recommend, especially if you are new to making homemade soap.
- Any herbs or botanicals can be substituted for the calendula in this recipe.

I made the recipe with the sweet almond oil and it’s in the mold and looking exactly like the photos so I think I’ve succeeded :D I’ve only done melt and pour soap making before this, so I’m definitely a beginner. I did try just hand whisking it before breaking out the immersion blender and it stayed pretty liquid, even with like 10-15 minutes of whisking. With the blender, it thickened in like 60 seconds, so easy. (Following the recipe exactly paid off, who knew jk hahaha) Now that I have all the stuff I need, I’m looking forward to trying your other soap recipes :) Thank you so much for these easy directions!
You are so welcome! I’m so glad you were successful in making this recipe. Enjoy!
What’s beneficial for your hair is healthy for your skin as well.
Very true.
Hi, there! My daughter and I want to make this together—first time for both of us. I am wondering what the dimensions of your soap mold are? I don’t want mold to be too large, or small. Thank you!
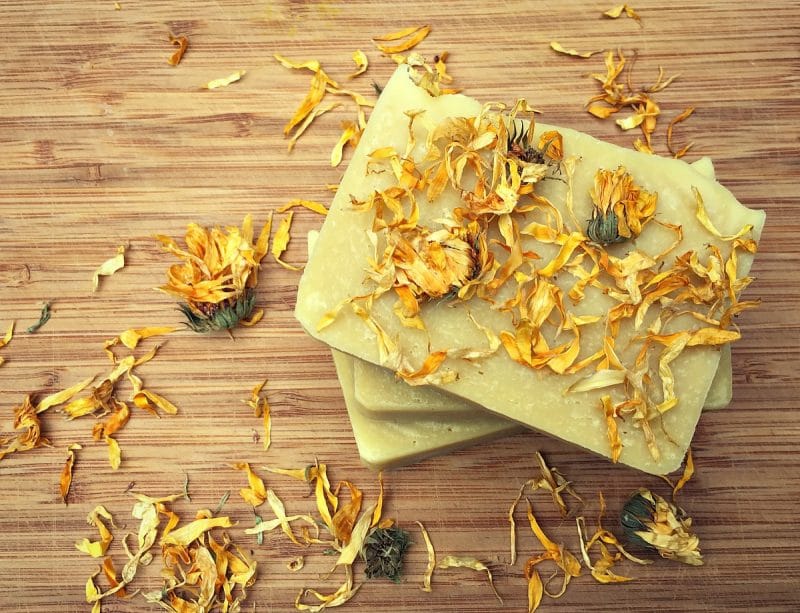
When do you add the decorative calendula to the soap? Do you sprinkle dry calendula on the bottom of the mold and pour the soap over it, or sprinkle it on the soap when you remove it from the mold and cut, before curing? Thanks!
Is it after that,I have to do the decision of dry herbs 🌿 & 🌸.Thank you so much,I really admire you.keep it up & you will do more great things in life🤗
Thanks for sharing. I would love to try this.
I have just discovered that I don’t have sunflower oil. Can I use almond or flaxseed?
Oils have different values so a substitution may change the weight of sodium hydroxide you’ll need, there is an app called soap calc you can use to recalculate the correct weights. It’s fairly simple to use.
Loved your article! I have been loving handmade soaps lately and want to make my own. I know you had some things on hand already, but if you had to estimate start up costs (even a general range) what would you estimate?
Thanks for all the natural toiletries that you are posting. In UK at the moment there is a tremendous surge of people wanting to make natural products, whether we live in town or country. Also crafts are on the up, I’m in my 50’s and am noticing that knitting, crochet and quilting are making a come-back with the younger generations. Keep the products coming as they’re really appreciated.
I’m a bit puzzled: if we have to wear protective gear while handling lye, is it safe to wash with it?????
Please read the whole article, as I address this concern (in short: there is no lye left in the finished product)
Hello, I am infusing rice bran oil with candelua petals. Can I replace my infused oil with one from the recipe?
You can, but you will need to consult with a lye calculator to see if you will need to adjust the amount of lye for the oil used (Jan includes one in her book).
Hello good morning, what do I do? Mine came out watery please help me. I love your recipes and you too????????????
Unfortunately I’m still a beginner myself, so I’m not the right person to ask!
Hi Esther. Is it watery or is some of the oil oozing? If it’s oil oozing, it could be that you achieved false trace & need to re-batch it. You can google re-batching as there are several methods. Also I’d double-check your measurements (it’s helpful to take careful notes regarding amounts). It’s also really important to use scales to measure by weight, never measure soap ingredients by volume.. Make sure you used sodium hydroxide not potassium hydroxide. Potassium hydroxide is used for liquid soaps as it won’t make a hard bar of soap, it definitely has to be sodium hydroxide for solid soap. Liquid soap is a whole different process and the recipes really aren’t interchangeable. Always check your recipe with a lye calculator. MMS has a really good calculator that’s very easy to use when you’re starting out (Google lye calculators). Aim for a 5% super fat, that gives you leeway so you’re definitely not lye heavy & makes your soap even more moisturizing to your skin because 5% superfat means that there’s 5% more oils than the lye can react with meaning there’s a little bit of oil left in the bar. If you’re making it for laundry detergent, you definitely don’t want to superfat though! You can use litmus paper (available at soap supply stores) to test the ph balance of your batch, it should be 7-10, anything higher than 10 & you’re probably lye heavy (lye has a ph balance of 14) which will be quite harsh on your skin. Less than 7 and you may not have used enough lye. You can also use phenolphthalein to measure the ph balance, which is also available at many soap supply stores. Homemade soap is very forgiving, as in, as long as you know where you went wrong, you can usually salvage it thru re-batching. If it is truly watery, it may be that you added too much liquid or possibly even not enough lye (or used potassium hydroxide aka KOH?). I haven’t heard of adding more lye in re-batching, but, if you know for sure that’s where you went sideways, you could do a bit of research as to how to re-batch & add more lye. I’m not sure it’s a good idea, but, I’ve never tried it. Worse comes to worst you may have to just scrap this batch and make a new one. Be very careful handling the soap if it is lye heavy as you may end up with a chemical burn, treat is the same way as if it were plain lye water, glove up, protect your skin, where shoes in case you spill some on the floor etc. Be sure you run your recipe thru a lye calculator, if you substitute any of the oils, you definitely want to re-calculate as the SAP levels (basically the amount of lye needed to react with the oils to turn it into soap) vary from oil to oil although some of them have similar SAP values & the lye amount stays the same, but even seasoned professionals will always, always always check first.
Good answer can I just add that converting the weights given in ozs to metric weights is better, it’s much more accurate and soap making really needs the ingredients to be weighed accurately.
I can purchase calendula, but I have a bunch of lavender that I grew. I am wondering if this recipe is OK to use different tea infusions?
Yes, you can use lavender or any other herb that you would like for this recipe.
Lavender buds will turn brown in homemade soap, it also stains the soap around the buds a dirty brown and looks like mouse droppings. Not sure about lavender tea, but I know lavender essential oil doesn’t morph (change the colour) in your soap. You could try the tea, just keep in mind the colour issue with the actual flowers. Brown soap is not necessarily bad, you could always do 1/2 & 1/2 – 1/2 the batch with plain water and the other 1/2 with lavender tea and swirl the 2 together in the mold to make a beautiful soap.
Hi, I am assuming that you can use calendula and other herbal infused oils for this recipe, also does this soap dry your skin out as I have found with homemade soap does. I need a moisturizing soap. Thanks
Most infused herbal oils would work well. No this soap is not drying, it’s very moisturizing and amazing!
If the homemade soap you’ve used is drying, it may have been what is called lye heavy, meaning too much lye was used, and that is very harsh on the skin. Homemade soap retains the glycerin which is very moisturizing, whereas commercial soaps remove the glycerin as it’s expensive and can be sold for more money on it’s own. Glycerin soap (the clear stuff) is almost always made with alcohol and therefore is not always a better choice although glycerin is very gentle.
can I do hot process the same way and same ingredients?
can you use any kind of tea leaves?
I wonder this too. Maybe thyme, oregano,mint, lemon??
How much calendula flowers to make how much tea please? I am learning too and want to make soap very soon. Thank you for sharing !
I don’t think the amount of calendula flowers really matters, but you do want to make sure that you end up with at least 9oz of tea once it’s all finished, as that’s how much the soap recipe requires. Happy soap making!
I read that you used parchment paper, but did mean freezer paper? I read that using parchment paper will react to the soap, as in making it difficult to peel off. I’m curious because I have a roll of parchment paper in my pantry and I’m reluctant to test it out. Thanks so much.
In Jan Berry’s soapmaking eBook, she says to use parchment or freezer paper. I used parchment and it worked just fine for me! :)
Hi, I actually made this kind of soap using some beef tallow (from one of my cows) in addition to a pre-purchased mixture of olive, coconut, castor, and a few other oils. How do you cut your soap loaf into bars? You mention cutting the soap into bars above, but what do you use? A knife was very difficult to use and seemed to tear up the soap. My husband’s aunt who taught me how to make the soap says she sometimes uses piano wire, and I tried fishing line, but all seemed to leave a very rough edge when cut. Yours look a lot more together and have a cleaner edge, so what kind of knife do you use? TIA!
I just used a big kitchen knife – but my husband is a cook and we have really high quality knives that he always keeps sharp, so that could be the difference!
Use a pastry cutter/bench scraper. It has a thin, uniformed edge. Perfect for soap cutting. You can even get a ridged one.
I’ve also been reluctant to use lye. I generally get the poured soap bases from craft stores, but they just don’t have that same “homemade” feel that traditional soap making processes have. They’re also not as “natural” as in what you can add into them. Maybe I’ll bite the bullet and give that ebook a read and try this soap making process instead!
At first I was a bit shocked to see all the oil that goes into that recipe, and I imagine it would be quite expensive up front. But then I saw the size of the loaf and bars at the end and realized that that constitutes MONTHS of soap, and it didn’t seem like such a bad thing.
one of these days….. after all i rendered that beef fat to make soap! Thanks for the encouragement!
This tutorial is great! I do have a few questions. When you say “Pour the oils into the big pot and gently warm them to about 100°F or so”, do you mean heat it up on the stove? Also, what kind of thermometer do you use?
Yes, on the stove. I just used a regular old meat thermometer!
Your soap looks great! I have Jan’s book too, its the best resource I have seen for explaining natural colours and fragrances for soap making. I love using herbs in my soap :)