Learn how to brew your own easy and delicious hard cider with this simple recipe! Brewing your own hard cider is easy, affordable, and it tastes amazing.
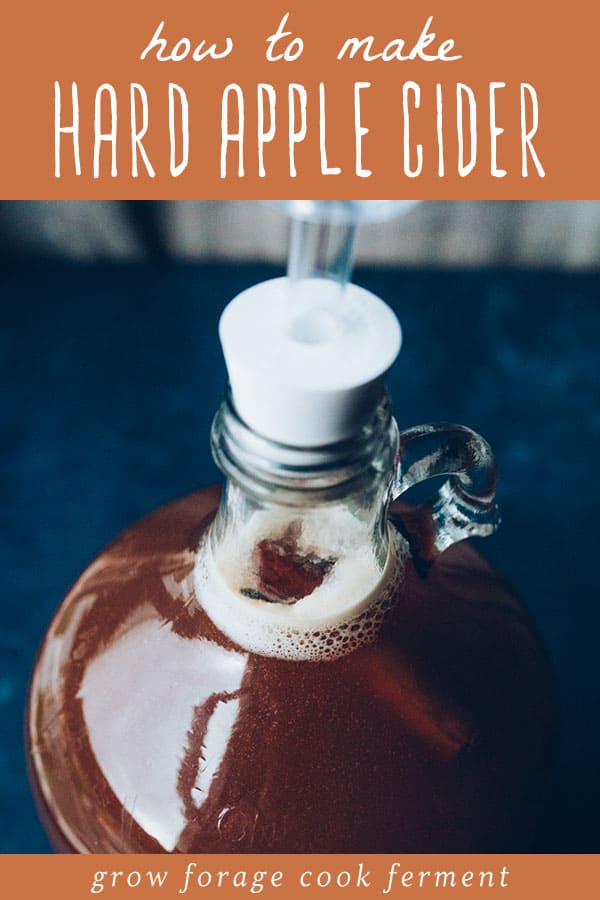
Want to save this post for later?
Homemade Hard Cider
This, right here, will change your world.
No, not in the “this is the best hard cider I’ve ever had, I should sell this stuff and make a bunch of money” kind of way, but in the “Wow, I just made my own homebrew and it’s pretty awesome and maybe I want to learn more about this” kind of way.
I first started making my own alcohol, mainly hard cider and mead (honey wine), when Joel and I lived in a dry county in Arkansas. Yes, dry counties still exist.
I always kept it pretty basic and was usually happy with the results, plus I learned a few tricks along the way.
I even wrote an ebook about Simple Mead Making for Beginners that explains everything in detail, which is a very similar process!
Hard Apple Cider Recipe
I’m going to show you how to make hard cider, which is one of my favorite ways to preserve apples. I think it is the easiest place as any to start brewing your own booze!
You will probably have to buy a few things to get started in your brewing adventure, but don’t worry, everything is relatively cheap. I will go over all of it with you.
Hard Apple Cider Ingredients & Equipment
I’m going to show you how to make one gallon of hard cider. Here is what you’ll need to begin your brew.
- Sanitizer: This is super important, do not skip this! I like One Step brand as it’s very easy to use and inexpensive.
- A large pot, a big funnel, a big spoon, and a ladle. You may not use the ladle, but it’s good to have it ready in case you need it.
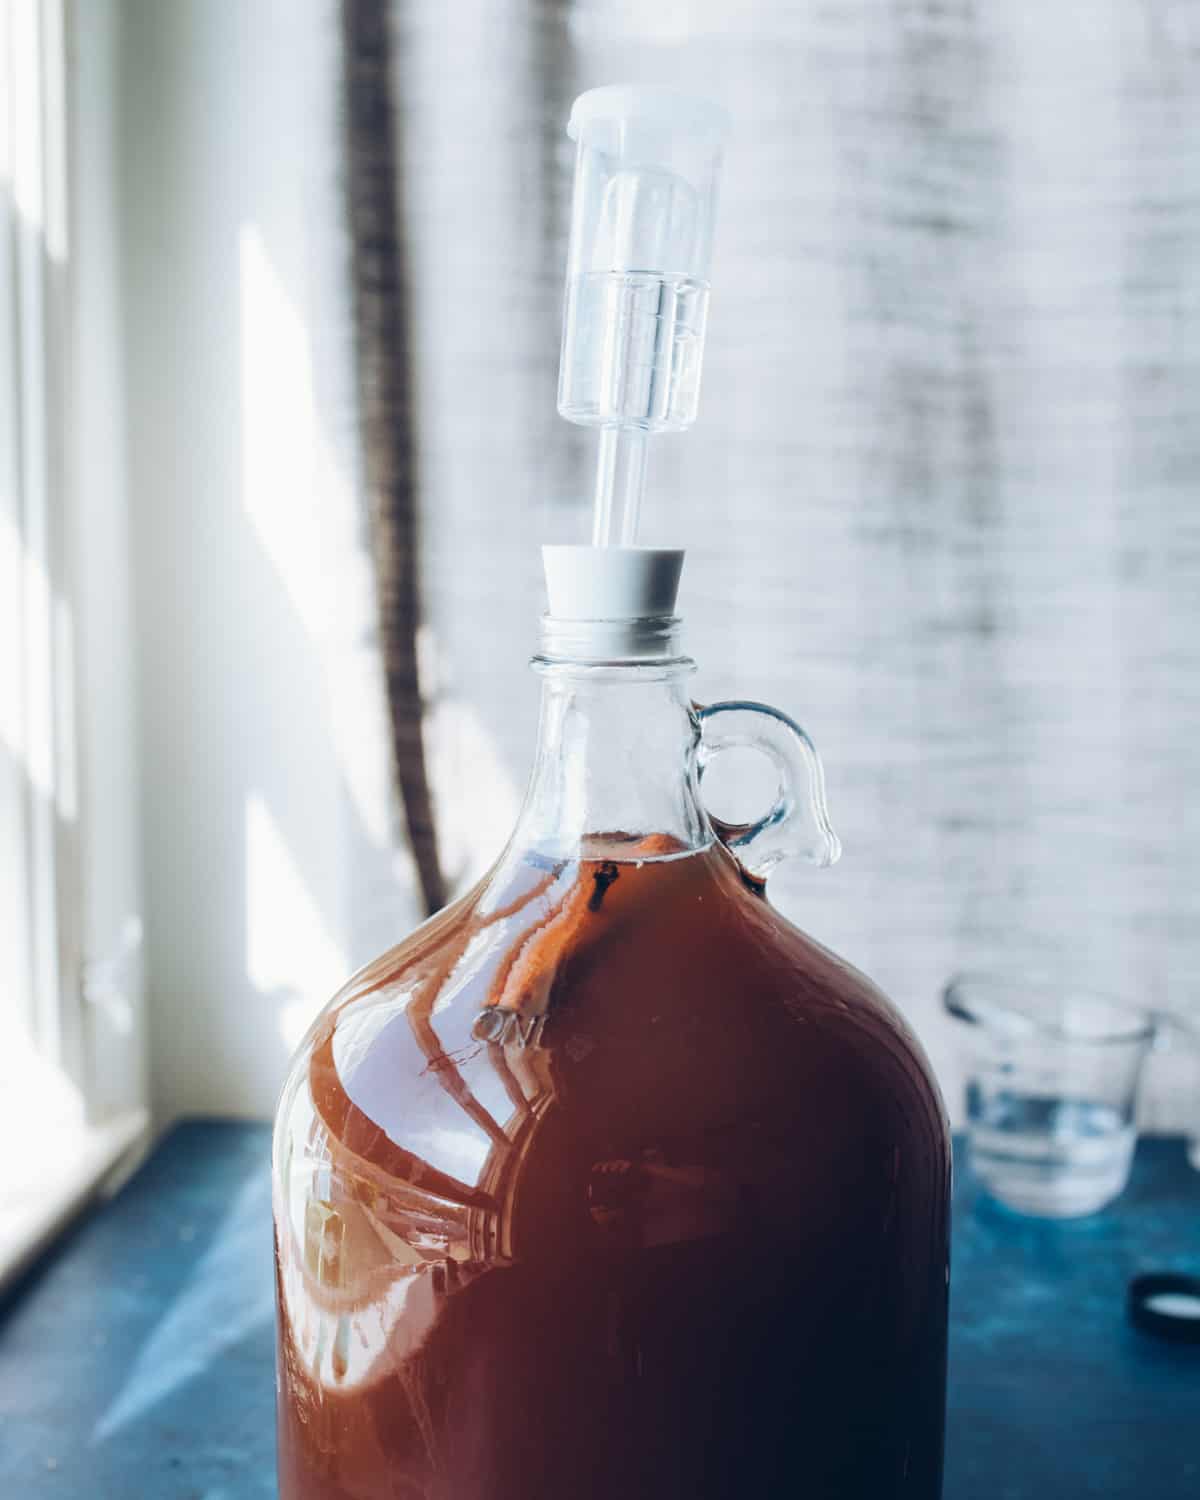
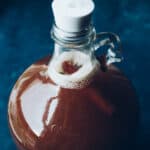
- 1 gallon glass jug with cap and airlock: for fermenting the hard cider.
- 1 gallon apple juice without preservatives: Most preservatives mess up the fermentation (trust me, I’ve made that mistake), but citric acid is ok. I’ve used both Santa Cruz Organic or North Coast Organic brands of apple juice, and they have worked well. Better yet, make your own Apple Cider with fresh apples in the fall.
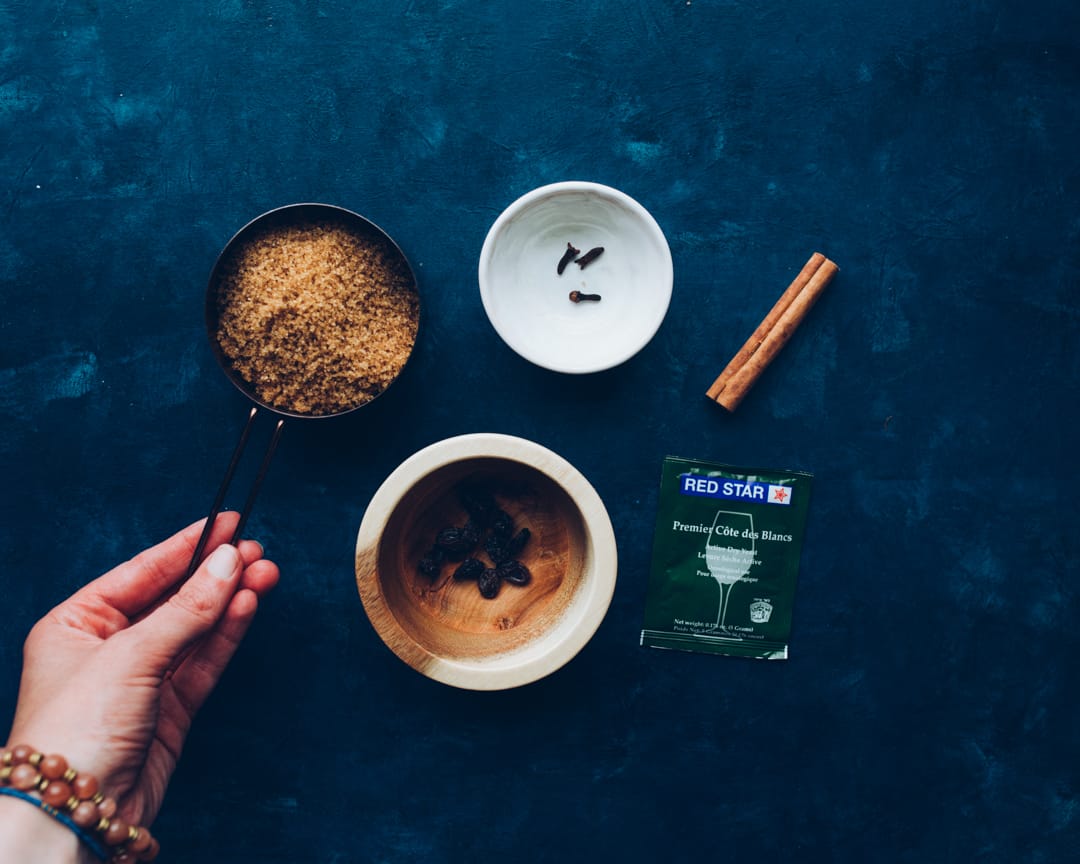
- 1 pound (16 ounces) brown sugar: more or less, depending on how sweet or dry you want your finished product to be.
- 1 cinnamon stick, 3 whole cloves, 10 raisins: the spices are for flavor, and raisins are a natural yeast nutrient (don’t worry, the raisins don’t impart any flavor on the cider).
- 1/2 package Red Star Champagne (Premier Blanc) or Cotes des Blanc Yeast: (might as well buy more than one, you’ll need them!)
If you’re buying all of these supplies, whether it be online or at a homebrew shop, you might as well get what you’re going to need for bottling as well: an auto siphon with tubing (the mini works good for gallon jars), a bottle filler, and flip top bottles.
I go over how to use these in the post about bottling hard cider.
Sanitize Everything
The first step is sanitizing. It is very important that you sanitize EVERYTHING that will touch your cider.
I usually mix up the sanitizer right in the pot that I’m going to brew in. Just follow the directions on the sanitizer that you have. The one I use is 1 Tbsp sanitizer powder to 1 gallon hot water.
Sanitize the big spoon, funnel, ladle, gallon jug, airlock, and rubber stopper.
Make sure the pot is properly sanitized at the end, and then I usually save some of the sanitizer in something, just in case you forget something or drop your funnel on the floor or your cat lays on your big spoon. It happens.
Brew the Hard Cider
Ok, now it’s time for the fun part!
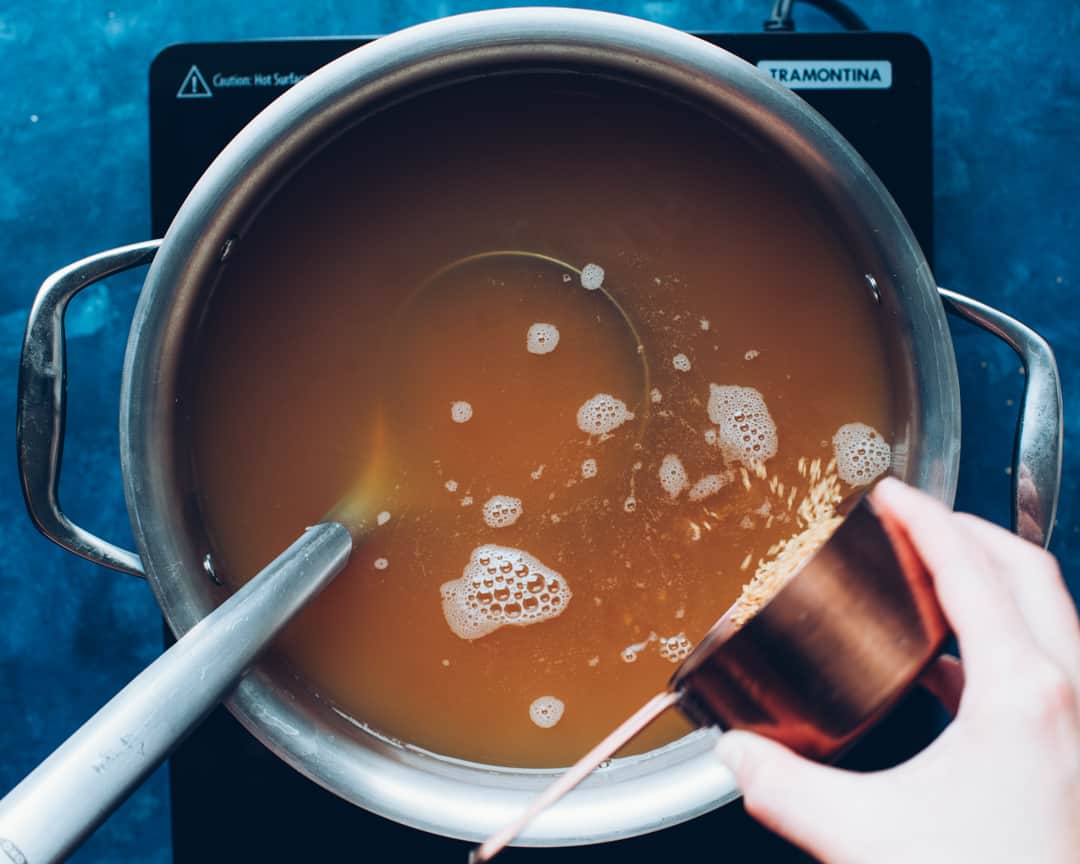
Put approximately one half gallon of the apple juice into the pot and turn it on medium high to warm it up (don’t boil it).
Once it’s warm, add the brown sugar and stir to dissolve, then remove the pot from the heat.
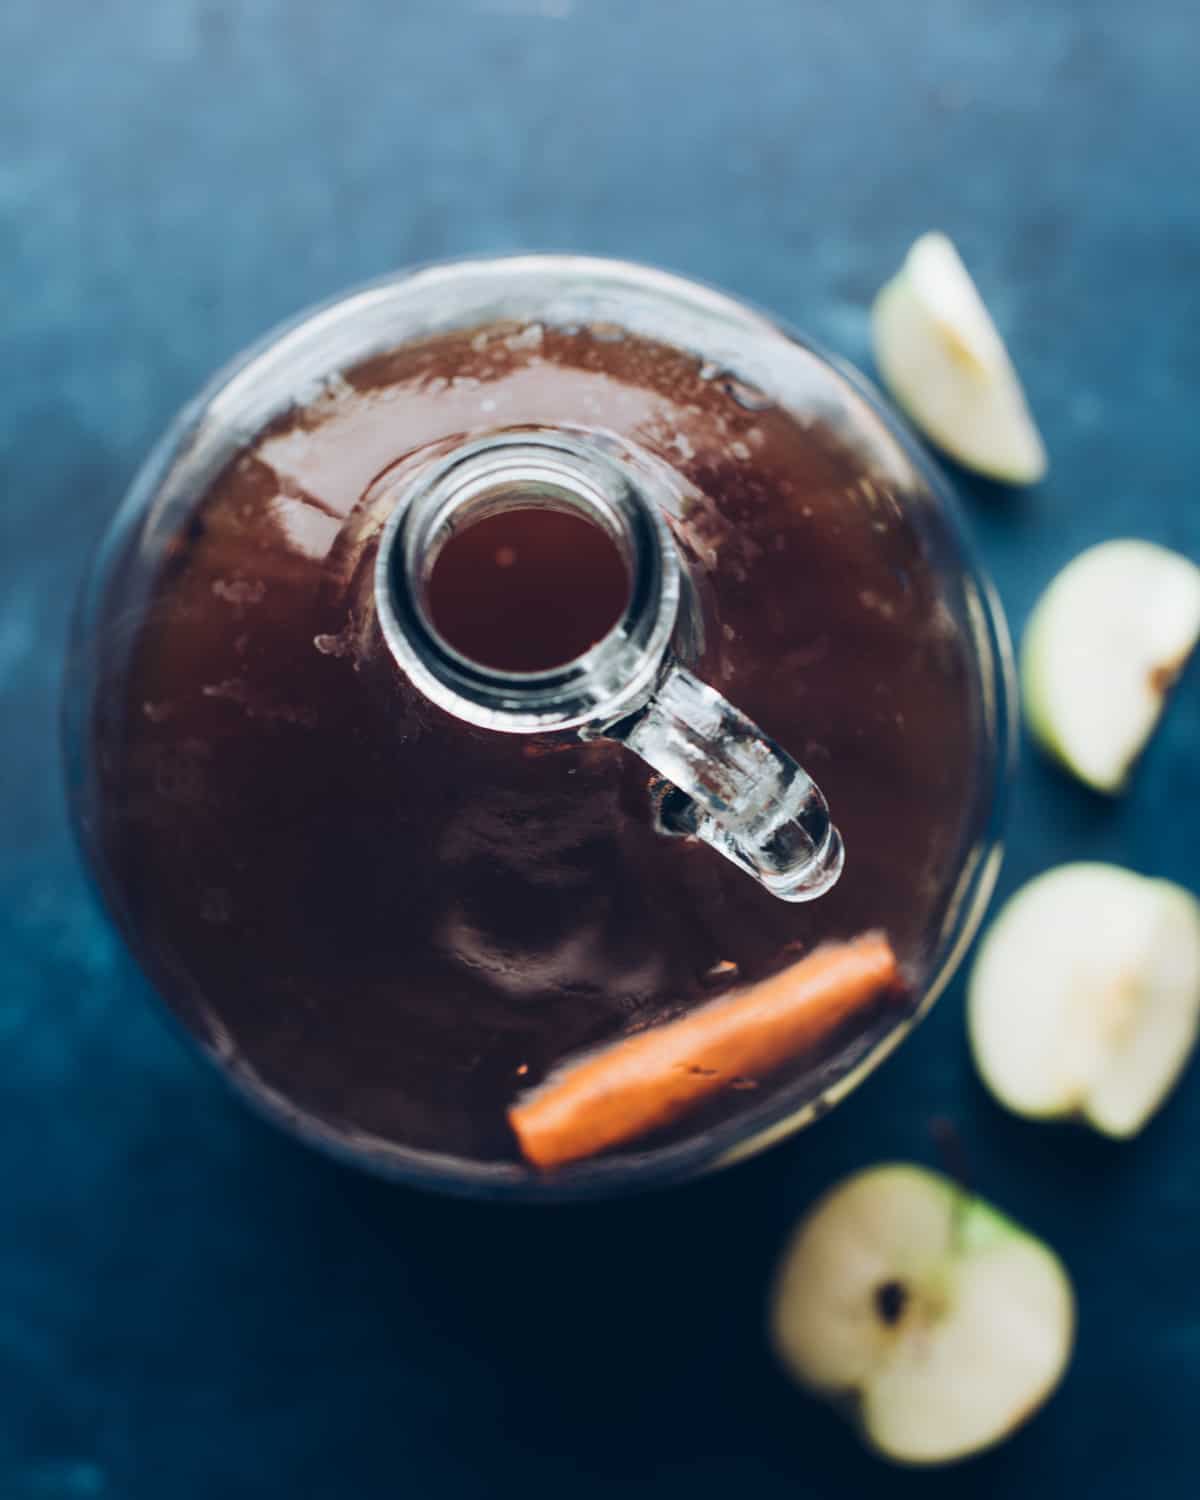
Put the cinnamon stick, cloves, and raisins into the empty one gallon brewing jug.
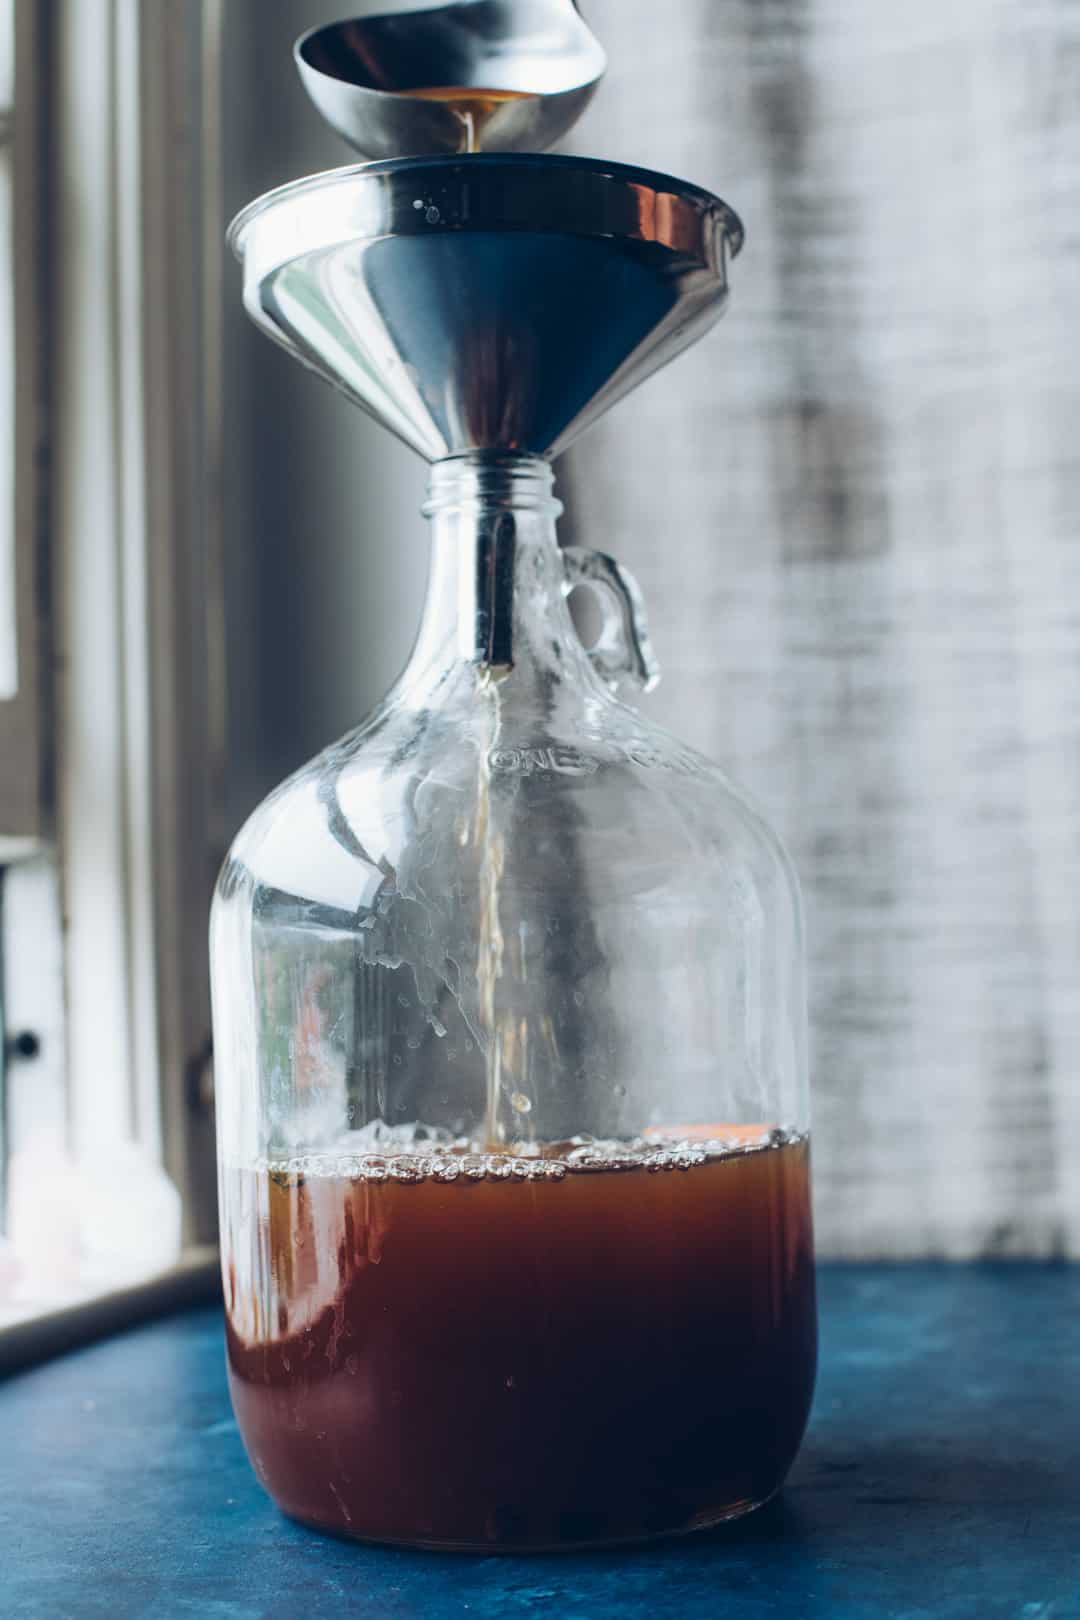
Use the funnel and ladle to transfer the warm cider from the pot into the one gallon brewing jug. You can alternatively pour the juice from the pot right into the funnel without using the ladle, if you’re feeling brave.
Allow the warm cider to steep with the cinnamon and cloves for about 20 minutes.
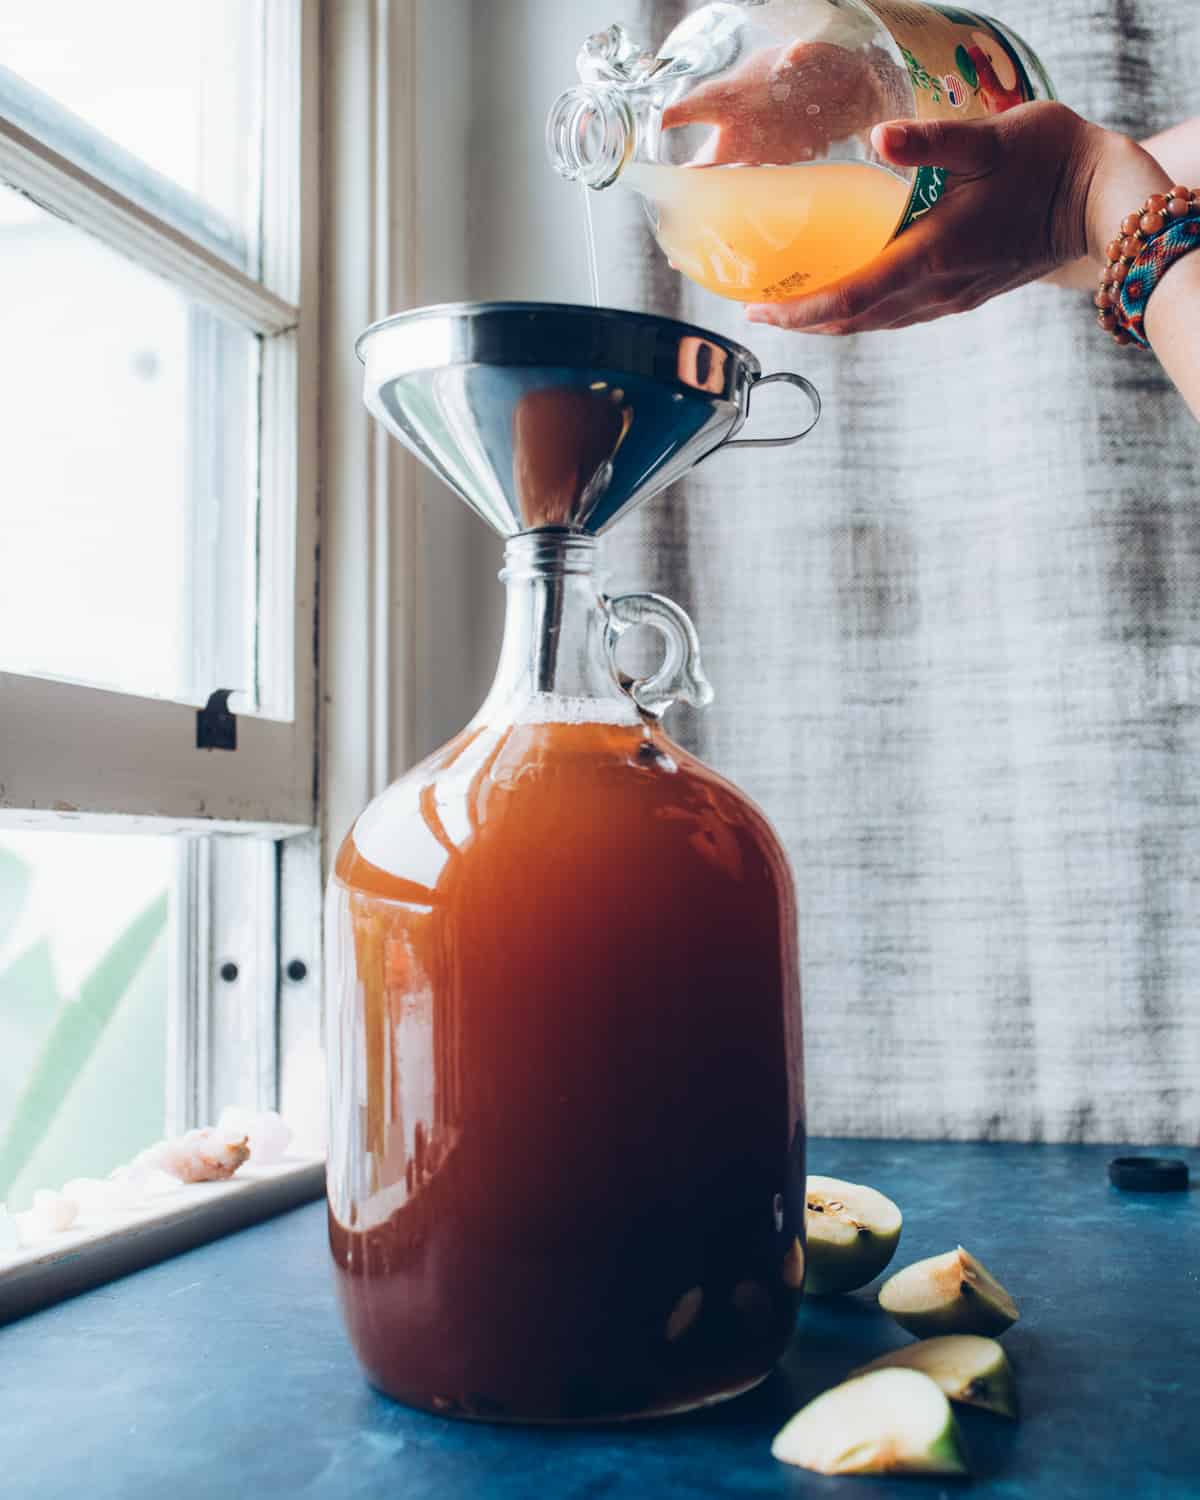
Top off the jug with the remaining ½ gallon of cider, leaving 2 inches of headspace at the top of the jug.
You will have a bit leftover apple juice. Drink it if you’d like, and think about how much better it will be once it turns into hard cider.
Cap the jug and shake to combine everything.
Use a thermometer to check the temperature of the juice in the jug. When it has cooled to 90°F or less, add ½ package of yeast to the jug (it doesn’t have to be exactly half, just a rough estimate).
Store the opened package with the remaining yeast in the refrigerator for later use. You can actually make up to 5 gallons of brew with 1 yeast packet, so keep that in mind for the future.
Cap the jug again and shake vigorously for about a minute or two to aerate the yeast. The yeast like air, plus you’re distributing the yeast (and getting stronger all at the same time). I usually sing “Shake it like a polaroid picture” while I’m doing it. It helps.
Attach the airlock to the rubber stopper if you haven’t already, fill it with water to the fill line, then place it firmly on the top of the jug.
Now, you wait. I know, it’s hard. Put the jars in a cool (not cold) place out of direct sunlight, a pantry or closet is usually good.
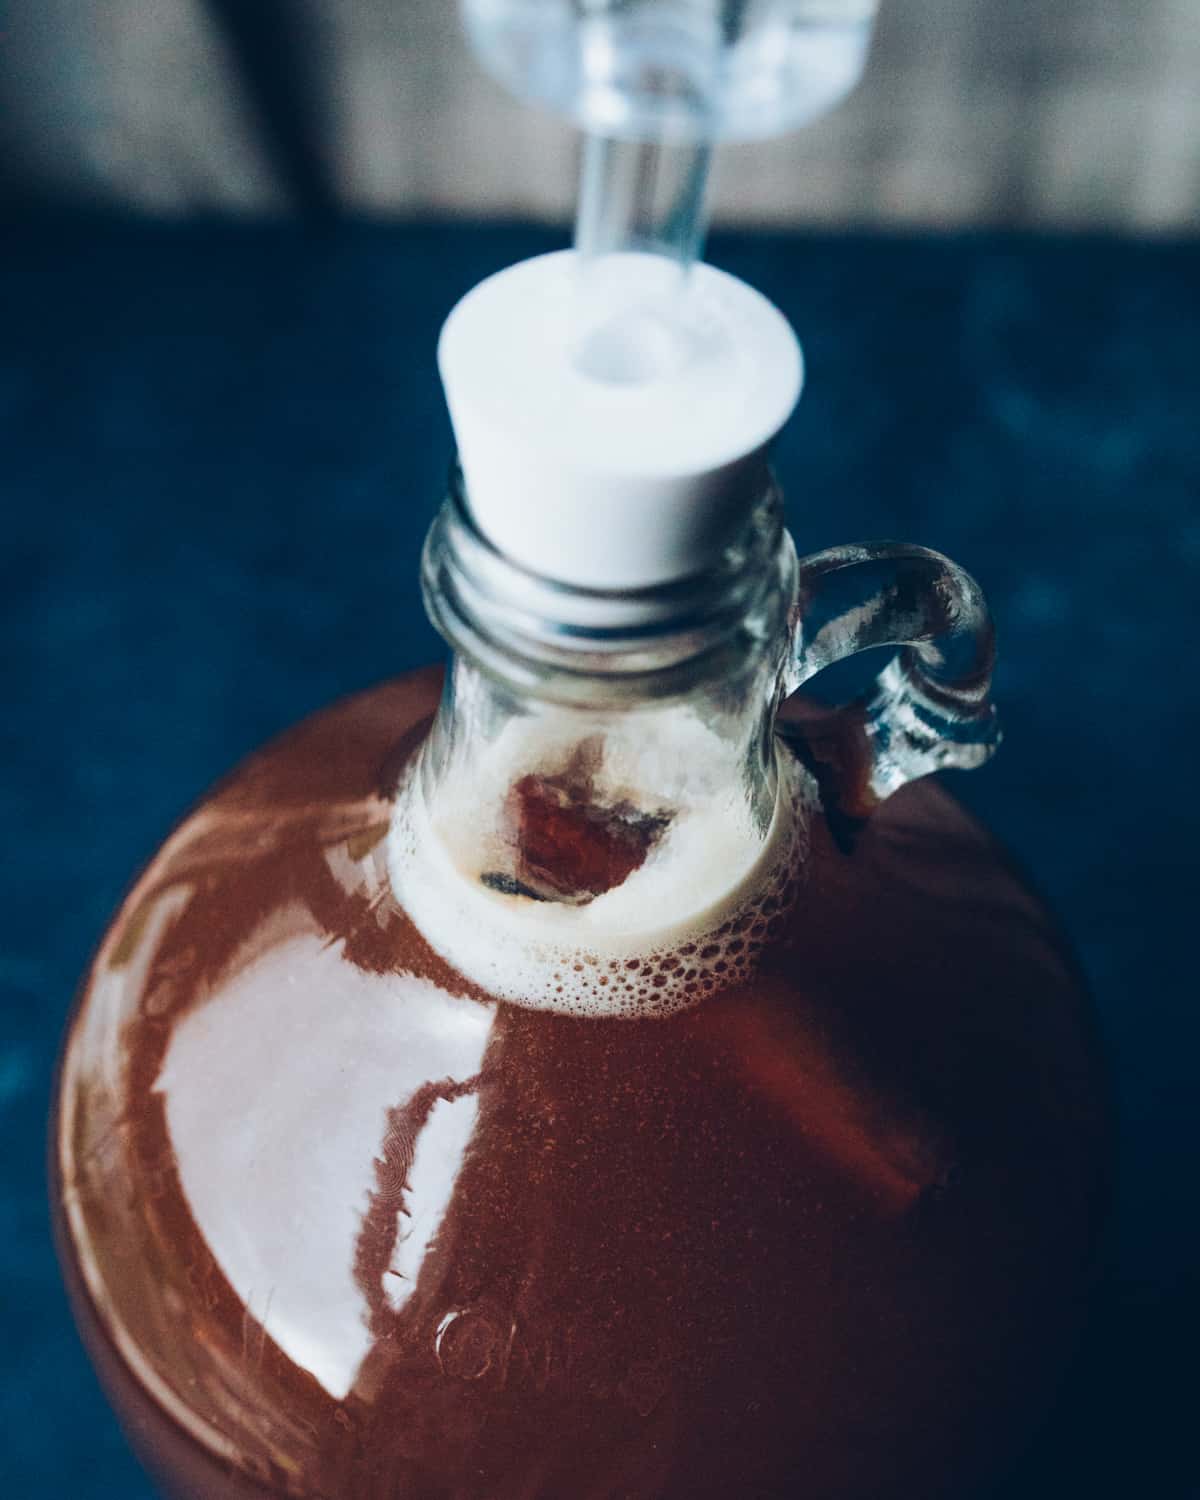
In a few hours, or overnight, you will notice some bubbling starting to happen in the jug (yay!). The airlock will start to bubble as well.
By the following day it should really be going good.
If you don’t see any bubbles after 48 hours something might be wrong. Give it more time, but if you still have nothing after a few days then something is definitely wrong.
The only time I have ever had this happen is when I accidentally used apple juice that had a preservative in it. That was a sad time. Learn from my mistake!
Now just let it ferment until it’s done. You’ll know because it will completely stop bubbling. This can take anywhere from 2-4 weeks, depending on many factors, but temperature is one. When it’s warmer it will be done quicker.
Bottling & Drinking the Hard Cider
Mark on your calendar the day you brew, so that you can keep track of how long it’s been. Once it has stopped bubbling, after around 2-4 weeks, you can bottle the cider with my guide to bottling.
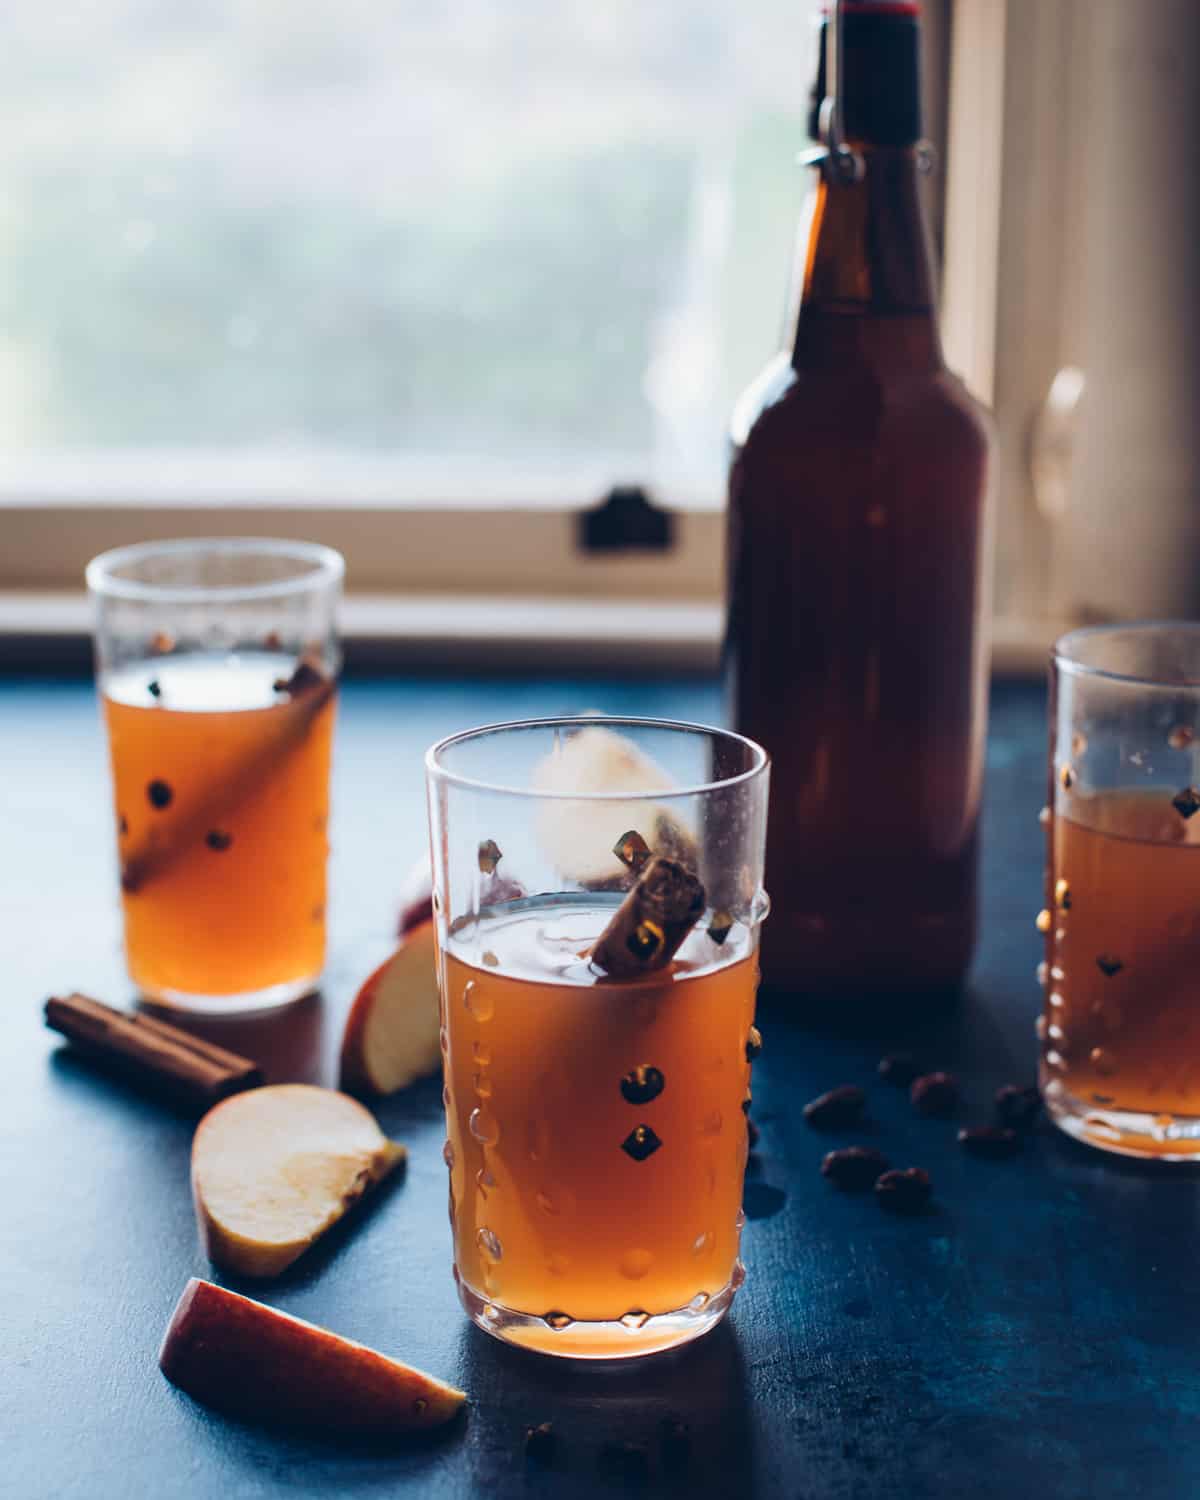
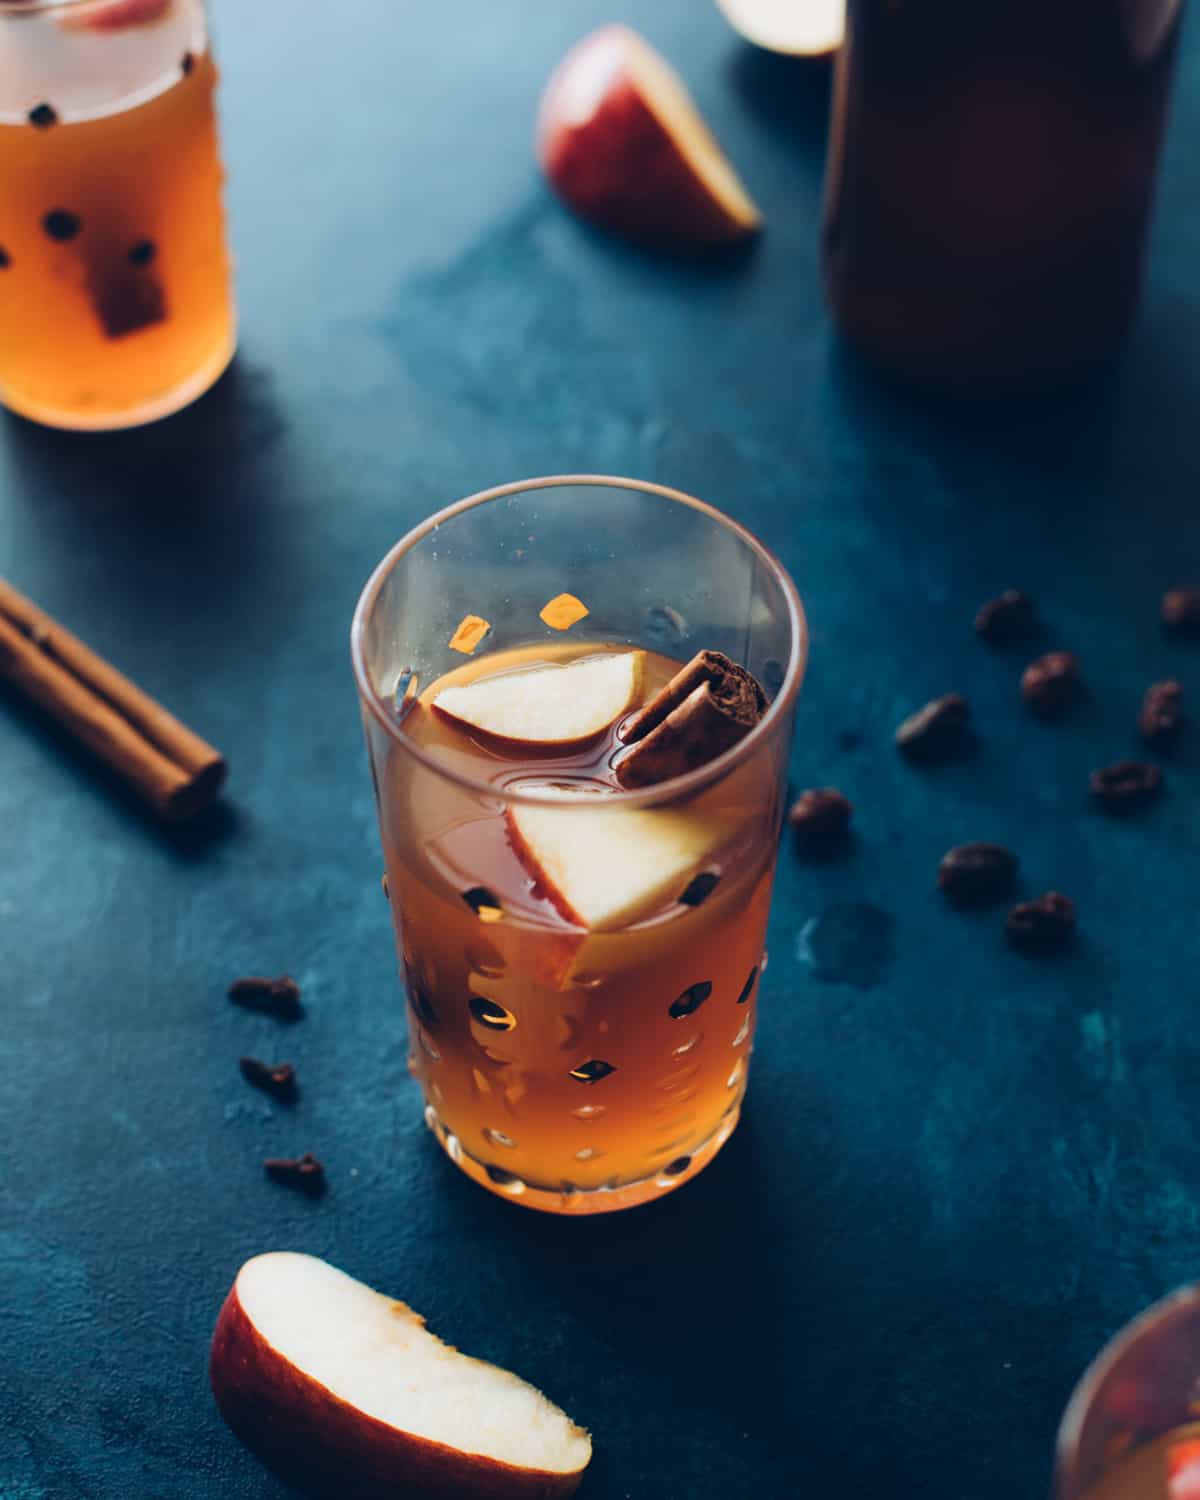
Soon you will be drinking some amazing homemade hard cider!
It’s delicious and festive, perfect for fall and winter. The best part is that you made it yourself!
Feeling adventurous? Next time try making your Hard Cider with Wild Yeast. Happy brewing!
Hard Apple Cider
Equipment
Ingredients
- 1 gallon organic apple juice without preservatives
- 1 pound brown sugar
- 1 cinnamon stick
- 3 whole cloves
- 10 raisins
- 1/2 package champagne yeast or cote des blanc yeast
Instructions
- Sanitize everything that will come into contact with your cider.
- Heat ½ gallon of apple juice in a pot on medium heat, do not boil.
- Add the brown sugar and stir to dissolve, then remove the pot from the heat.
- Put the cinnamon stick, cloves, and raisins into the empty one gallon brewing jug.
- Use the funnel to transfer the warm cider from the pot into the one gallon brewing jug. Allow the warm cider to steep with the spices for about 20 minutes.
- Top off the jug with the remaining ½ gallon of apple juice, leaving 2 inches of headspace at the top of the jug. You will have a bit leftover apple juice.
- Cap the jug and shake to combine everything.
- Use a thermometer to check the temperature of the juice in the jug. When it has cooled to 90°F or less, you can add ½ package of yeast to the jug (doesn’t have to be exact). Store the opened package with the remaining yeast in the refrigerator for later use.
- Cap the jug again and shake vigorously for about a minute or two to aerate the yeast.
- Attach the airlock to the rubber stopper if you haven’t already, fill it with water to the fill line, then place it firmly on the top of the jug.
- Put the jug in a cool (not cold) place out of direct sunlight to ferment. After several hours, or overnight, you will start to see bubbles forming in the jug and airlock.
- Allow the cider to ferment for 3-4 weeks, until the bubbling in the jug and airlock has stopped.
Notes
- Preservatives mess up the fermentation (trust me, I’ve made that mistake), but citric acid is ok.
- You can make up to 5 gallons of hard cider with 1 yeast packet, so keep that in mind for the future.
- Fermentation time will be faster when it is in a warm environment.
- See my post How to Bottle Hard Cider when it's time to bottle the cider.


Hi, what is it’s shelf-life after bottling?
It’ll last a few months refrigerated after bottling and aging.
Do u remove the cinnamon etc after 20 minutes or leave in.
I leave it in with the rest of the spices.
It works but holy hell this makes gas.
The pound of brown sugar makes for a lot of fermentable sugars on top of the juice.
I’ve done this recipe twice and it yields something upwards of 13% ABV.. you’ll be feeling warm off one 12oz bottle.
Curious why the addition of so much sugar.
Can you use fresh apple cider?
I now live in one of those dry counties in Arkansas.
Yes, as long as there aren’t any preservatives added!