There’s not usually a whole lot to forage for at the end of winter, but there is something delicious hiding in many of the trees around us: sap which can be turned into syrup! Learn how to tap trees and make syrup in your backyard!
Want to save this post for later?
Tapping Trees to Make Syrup
Have you ever glanced at the monstrous maple trees growing on your property and thought, someday, I’m going to tap those trees and make syrup! Well, this could be that very day!
Making maple syrup in your backyard can seem difficult and overwhelming, but in reality it’s simple and quite easy, although can be time consuming.
If you have a tappable tree, some basic supplies, and a free weekend, you could be enjoying your own homemade syrup sooner than you think!
What Kind of Trees Can You Tap for Syrup?
Everyone knows you can tap maple trees for syrup, and most people have heard of birch syrup (learn about foraging for birch trees here) but there are actually a lot of different trees you can use to make backyard syrup!
Out of all these options, maple is by far the easiest to use for syrup due to its high sugar content, but if you don’t have a maple tree and want to experiment with other types, the sap from any of these trees can be made into syrup!
Trees to Tap for Syrup:
• Maple- all types, but sugar maples are best
• Birch
• Black Walnut
• Sycamore
• Ironwood / Hop Hornbeam
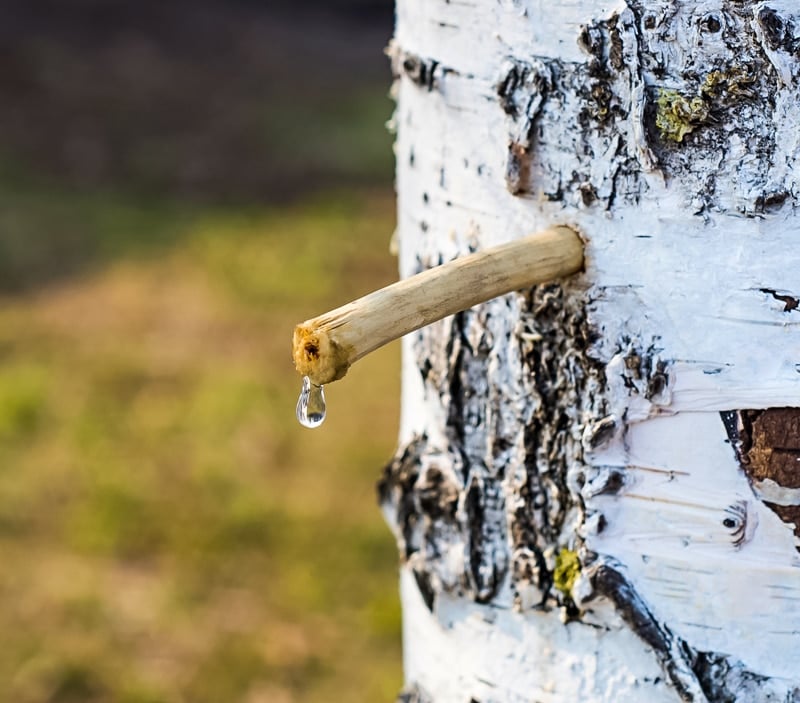
Tapping a birch tree
When Can You Tap Trees for Syrup?
Tree tapping happens right when winter is turning to spring. The timing can vary depending on your location, but generally tree tapping can start anywhere from late February to mid April.
The best time to tap trees is when the daily temperature consistently rises above freezing and nighttime temperature falls below freezing.
How to Choose Which Tree to Tap
Size:
The tree you tap needs to be at least 12 inches in diameter. Any smaller and tapping could harm the tree.
Taps:
How many taps can you put into each tree? We usually only put one tap in each tree, but our maples are not as monstrous as some I’ve seen.
Here’s a general guideline for how many taps to use per tree.
Tree Diameter:
Under 20 inches- 1 tap
21-30 inches – 2 taps
31 inches or more – 3 taps
Location:
When deciding which trees to tap, choose some that are within easy walking distance to your sugaring station.
Believe me when I say you don’t want to be hauling heavy buckets of spilling sap very far, especially if it’s still cold and snowy during your sugaring season!
Although we have hundreds of maple trees, we always choose the trees that are bordering our backyard to tap.
We set up our sugaring station in the middle of the yard, so this way it’s easy to bring heavy buckets to the station.
Supplies You Need to Tap Trees
- Cordless Drill
- Drill bit – 7/16 or 5/16 (this depends on your spile size)
- Hammer or mallet
- Spiles and hooks
- Buckets with lids (aluminum foil wrapped around the top of the bucket works well in place of a lid)
You could also get a maple tapping starter kit that has all of the specialty things you will need.
How to Tap Trees for Syrup
Tapping the trees may seem overwhelming at first, but it’s actually the easiest part of making syrup!
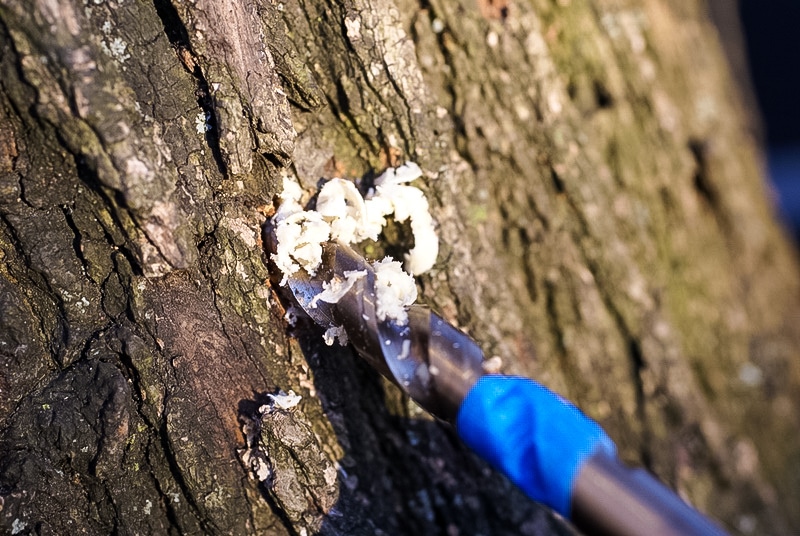
Step 1: Measure the drill bit and wrap a piece of colored tape around it 3 inches from the end. This will easily tell you when to stop drilling.
Step 2: Select a spot on the tree that’s 2-4 feet off the ground.
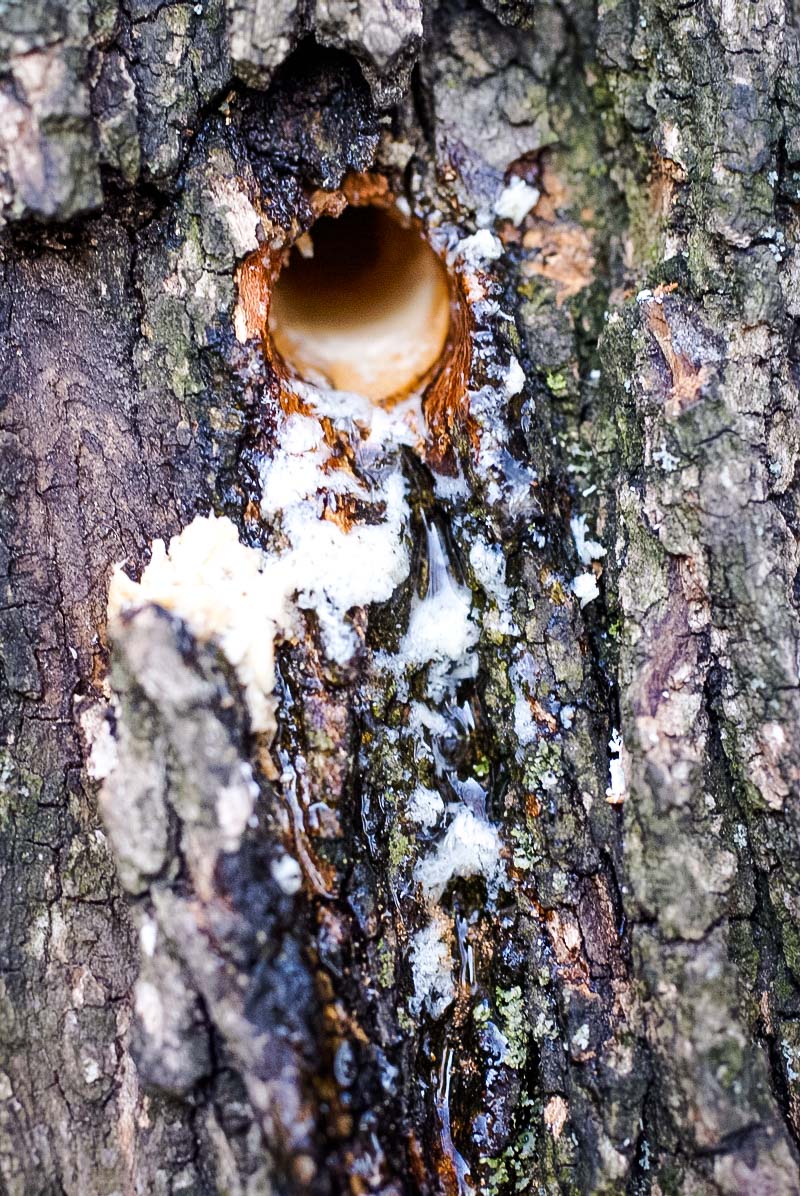
Step 3: Drill into the tree at a slight angle upward until the edge of the tape reaches the tree. If the sap is running you’ll notice it start to spill out of the hole at this point.
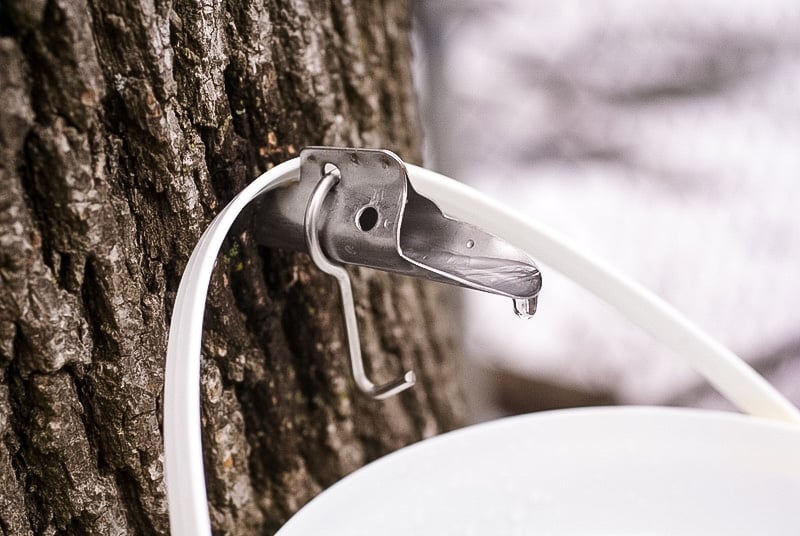
Step 4: Clear out any debris from the hole and insert your spile. Tap it gently into the tree with the hammer until it fits securely and the sap is flowing out of the spile.
Step 5: Hang the bucket on the spile, and cover the bucket with a lid or foil to keep out bugs and debris.
Tree Tapping Maintenance
Check on your buckets several times a day. Some days they will fill up quickly, some days they won’t fill at all, it all depends on the weather.
Empty the buckets of sap into a larger container at your sugaring station. We usually use five gallon food safe buckets, or big stock pots.
The sap will need to be stored at 38 degrees or colder to prevent spoiling. Plan to start boiling it within one week of starting your sap collection.
We like to keep the sap buckets either outside in the snow, or in the garage where the temperature tends to stay between around 30 degrees in the winter.
It’s time to stop collecting sap when one of two things happen, either you get tired of collecting sap, or the trees stop running. Then it’s time to make syrup!
How to Make Syrup
How much syrup will you get?
The general ratio for sugar maple sap to syrup is 40:1. Put simply, if you have 40 gallons of sap, it will boil down to 1 gallon of syrup. This number varies with different tree types.
Supplies you need to make syrup in your backyard
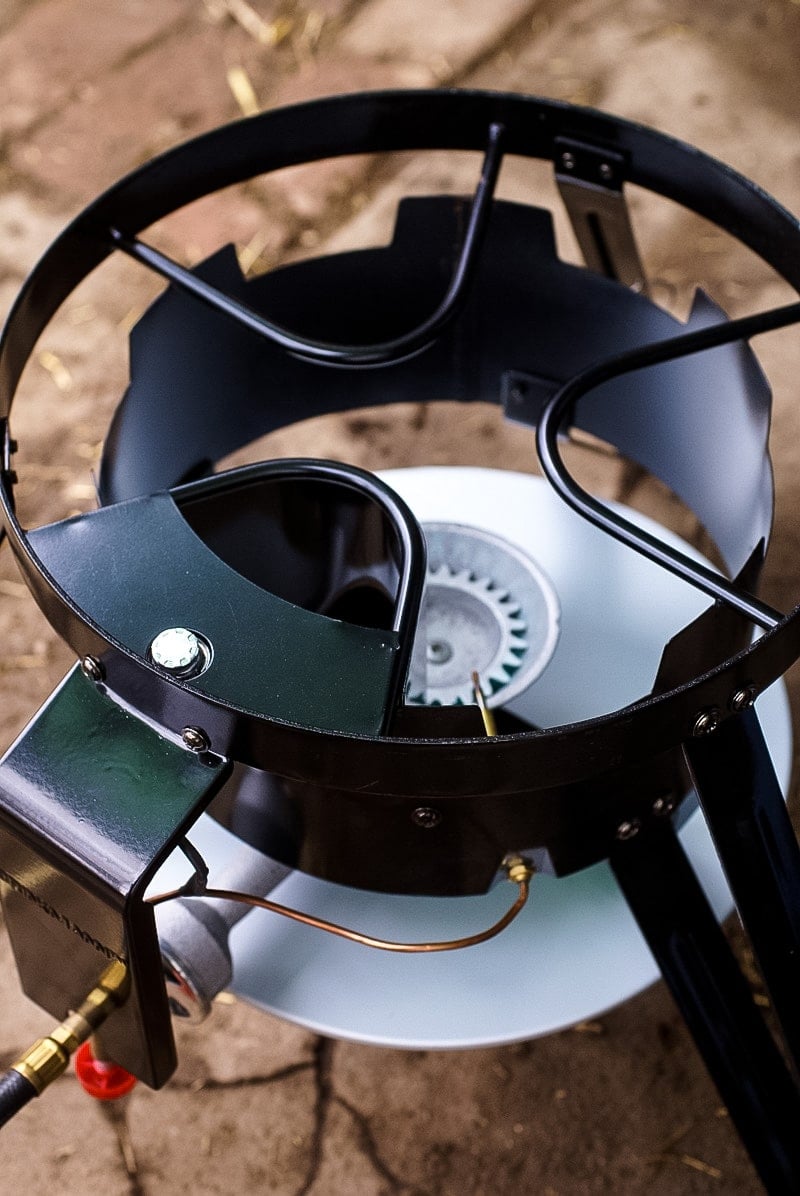
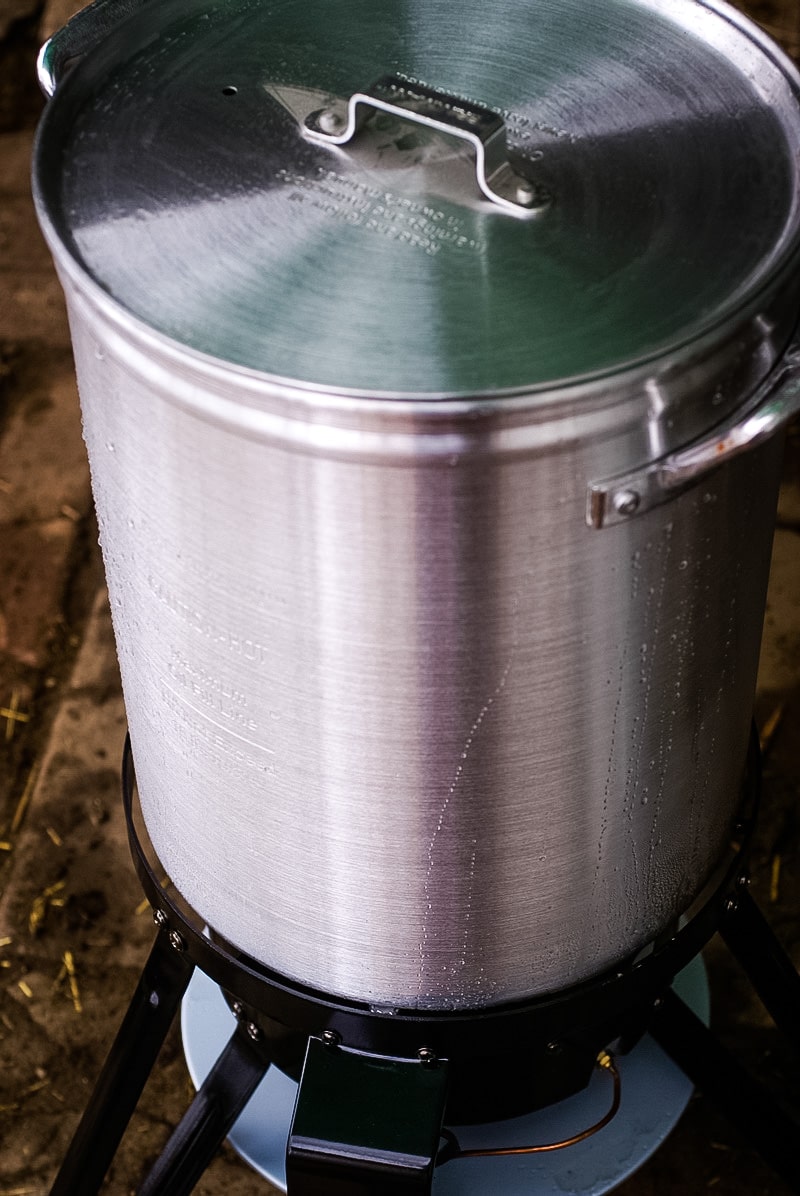
- Turkey fryer (outdoor propane gas cooker)
- Propane tank
- Large pot for the turkey fryer
- Candy thermometer
- Felt syrup filters
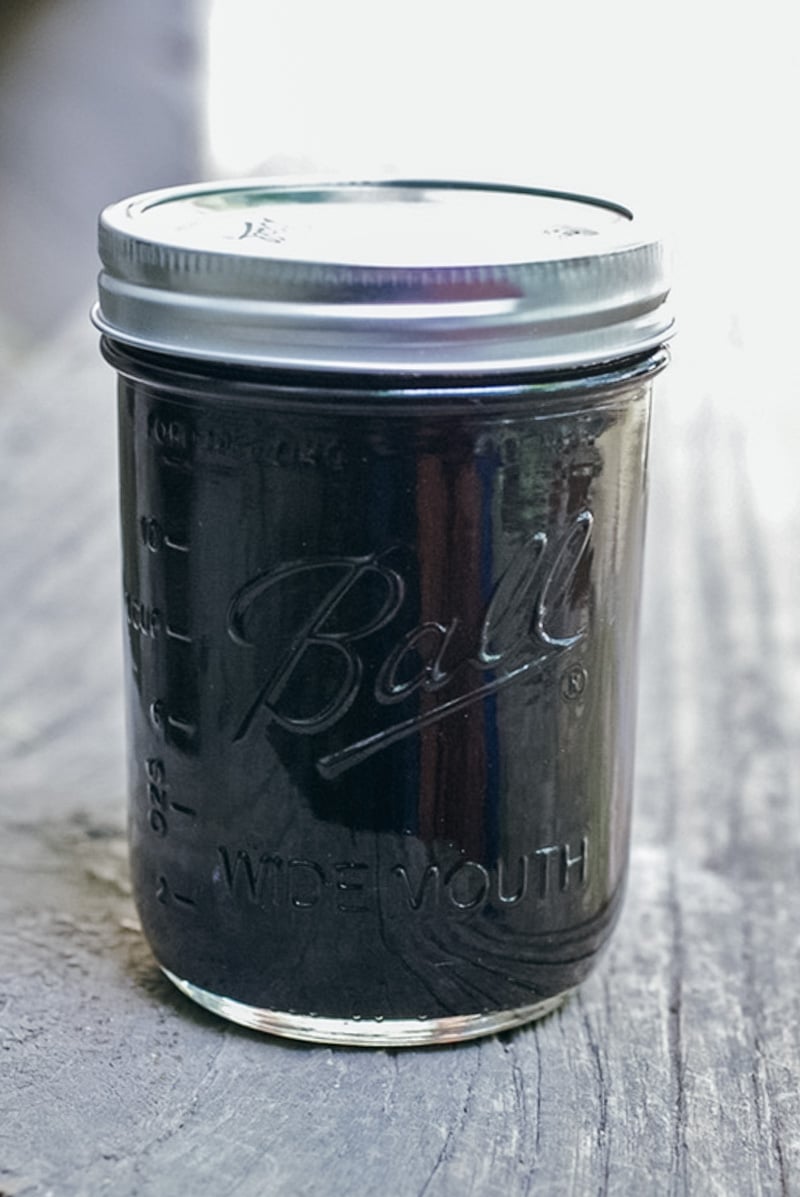
- Jars
The Benefits of Using a Turkey Fryer for Making Syrup
As tempting as it may be, don’t attempt to boil down the sap inside your home.
Boiling sap produces an enormous amount of steam, and the moisture filling your home can be enough to cause some serious damage.
At the very least, everything in your kitchen will be covered in a sticky residue, but worse, this much humidity can cause the paint and wallpaper on your walls to bubble and peel.
When we first started making maple syrup we did it in our tiny backyard smack dab in the middle of the city.
We knew that building an evaporator and burning a cord of firewood in the city was definitely not an option, so we opted for a turkey fryer instead (also known as an outdoor propane gas cooker).
Using a turkey fryer to boil sap is low maintenance and requires zero building skills or fire maintenance skills. While the propane can be an expense, the ease of use is priceless.
How to Boil Sap for Syrup
Step 1: Set up the turkey fryer outdoors on a flat surface such as a patio. It’s important to make sure this is an area that isn’t frequented by kids and animals!
Step 2: Set the pot on top of the fryer and pour the sap into it. If there is any debris in the sap such as insects or leaves, filter it through cheesecloth before pouring it into the pot.
Step 3: Pour the sap into the pot so that it’s about 3/4 full. Don’t make the mistake of filling it all the way, or it will boil over and you’ll lose precious sap!
Step 4: Light the turkey fryer and turn it up to medium high. When the sap comes to a rolling boil, turn the heat down to medium, just high enough to continue gently boiling the sap.
Step 5: As the sap boils down, you’ll need to continue adding more, little by little. The trick is to add sap slowly in little bits so the sap in the pot doesn’t lose its boil. This takes pretty consistent effort. You will likely be pouring in new sap every half an hour or so. Every time you add new sap, use a spoon or a metal strainer to skim off the foam on the surface of the sap.
You don’t need to babysit the turkey fryer every minute that it’s running, but certainly check on it frequently, and never leave home or go to sleep while the turkey fryer is running. Not only is this a fire risk, but over boiling the sap will ruin your syrup and your pot as well.
Step 6: Continue boiling outdoors until you’ve worked down the majority of the sap, and the liquid in the pot is turning a golden brown color. You may notice the bubbles turning from large and rolling to tiny and bubbling. This is a good sign and means it’s time to move indoors!
Step 7: Move the sap indoors to the stovetop and continue boiling it gently. If you have an exhaust system in your kitchen, this is definitely the time to use it! If not, crack a few windows to let some of the humidity out.
Step 8: The sap needs to be carefully watched while it finishes, as it turns quickly from sap to syrup. Stir the sap frequently and keep a candy thermometer in it to monitor the temperature.
How to Tell When the Sap Has Become Syrup
The sap will officially become syrup once it reaches 7 degrees over the boiling point of water.
It’s a good idea to measure the exact boiling point of water that day, as it can change with barometric pressure and altitude.
To measure the boiling point of water, simply set a small of water on the stove top, pop a thermometer inside, and take note of the temperature when the water reaches a rolling boil.
Another way to tell if your syrup is done is to conduct the spoon test.
Use a flat edged spoon or spatula to scoop some syrup out of the pot, then pour it slowly back into the pot.
If the syrup runs off and doesn’t stick to the spoon at all, it’s not finished. When the syrup aprons off the spoon in a sheet, it’s done.
The spoon test can be hard to see for beginners, but there are a lot of photos and videos of maple syrup sheeting online to help you out!
We’ve found the spoon test to be the best way to tell if the syrup is done, as thermometers can sometimes be unpredictable.
Canning the Syrup
When the syrup is finished it’s time to can it.
Get your felt filters ready, and while the syrup is hot, pour it through the filters into a fresh pot. This can be slow going, and you may need to use more than one filter. This process filters out the sugar sand so your syrup is pure.
Before putting the syrup into jars, make sure it’s still hot, at least 180 degrees. If it cooled too much during filtering, you may need to bring it to a boil again.
Pour the syrup into clean, sterile jars, leaving a little space at the top. Screw the tops on and invert the jars to create a seal. Date and label the jars so you don’t forget what sweet goodness is inside.
Store your sealed maple syrup in the pantry, but be sure to refrigerate after opening.
Enjoy!
We love to eat syrup with fluffy sourdough pancakes and crispy waffles. It’s also a great sugar alternative to bake with and add to oatmeal for a touch of sweetness!
You can also use maple syrup in place of part of the honey when making mead (honey wine), known as acerglyn or maple mead. Yum!
Meredith Skyer is an artist and homesteader, and the egghead behind Backyard Chicken Project, a place for crazy chicken people to flock together. She lives on a woodland homestead in Western New York with her husband and their menagerie of critters. She spends her days crafting fantastical creatures out of clay and chasing after her flock of chickens. See her pottery work at her Etsy shop, MerrySkyerStudios.

I take empty gallon milk jugs, make a hole in the neck and hang on hook that’s attached to the spile. I also boil it down daily, this makes a nice light colored syrup.
As child in south Michigan, I lived next to a maple syrup factory. Your post brought back a lot of memories. We would break the ice on top of the buckets and eat it while waiting for the school bus.
I have a lot of access to a great deal of birch trees, and I would like to try the process of collecting the SAP.
Isn’t this harmful for the tree?
Yes, but only minimally if you use the recommended diameter to spile ratio. Hope this helps!
I was camping this past week, although I didn’t run out of potable water. I was wondering how much water I could “tap” from a tree. Would tapping the trees cause damage? Not necessarily into making syrup, but curious, for the survival side of camping.
Hi! This was a great idea, and thanks for the article. Up until two years ago, I had no idea that so many trees could give us these sugary delights. Last year, here in Southern Oregon, I harvested a small amount of Bigleaf Maple sap and made syrup! It has a boil-down ratio of about 60 to 1 ( maybe more) and therefore requires a little extra patience and time. Here is Southern Oregon, our winters can be not cold enough at night – bu t- I suggest giving it a try. I did it in February. Also- sap may taste a bit off when the buds start to form, and that brings an end to tapping time. For the Pacific Northwest region, there is a very good and supportive facebook group called “Bigleaf Maple Tapping in the Pacific Northwest”. Lots of folks are newbies, and get great advice here, and there are announcements about local festivals featuring maple syruping. Also it is a great way to find out where the sap is flowing with the daily report-ins!